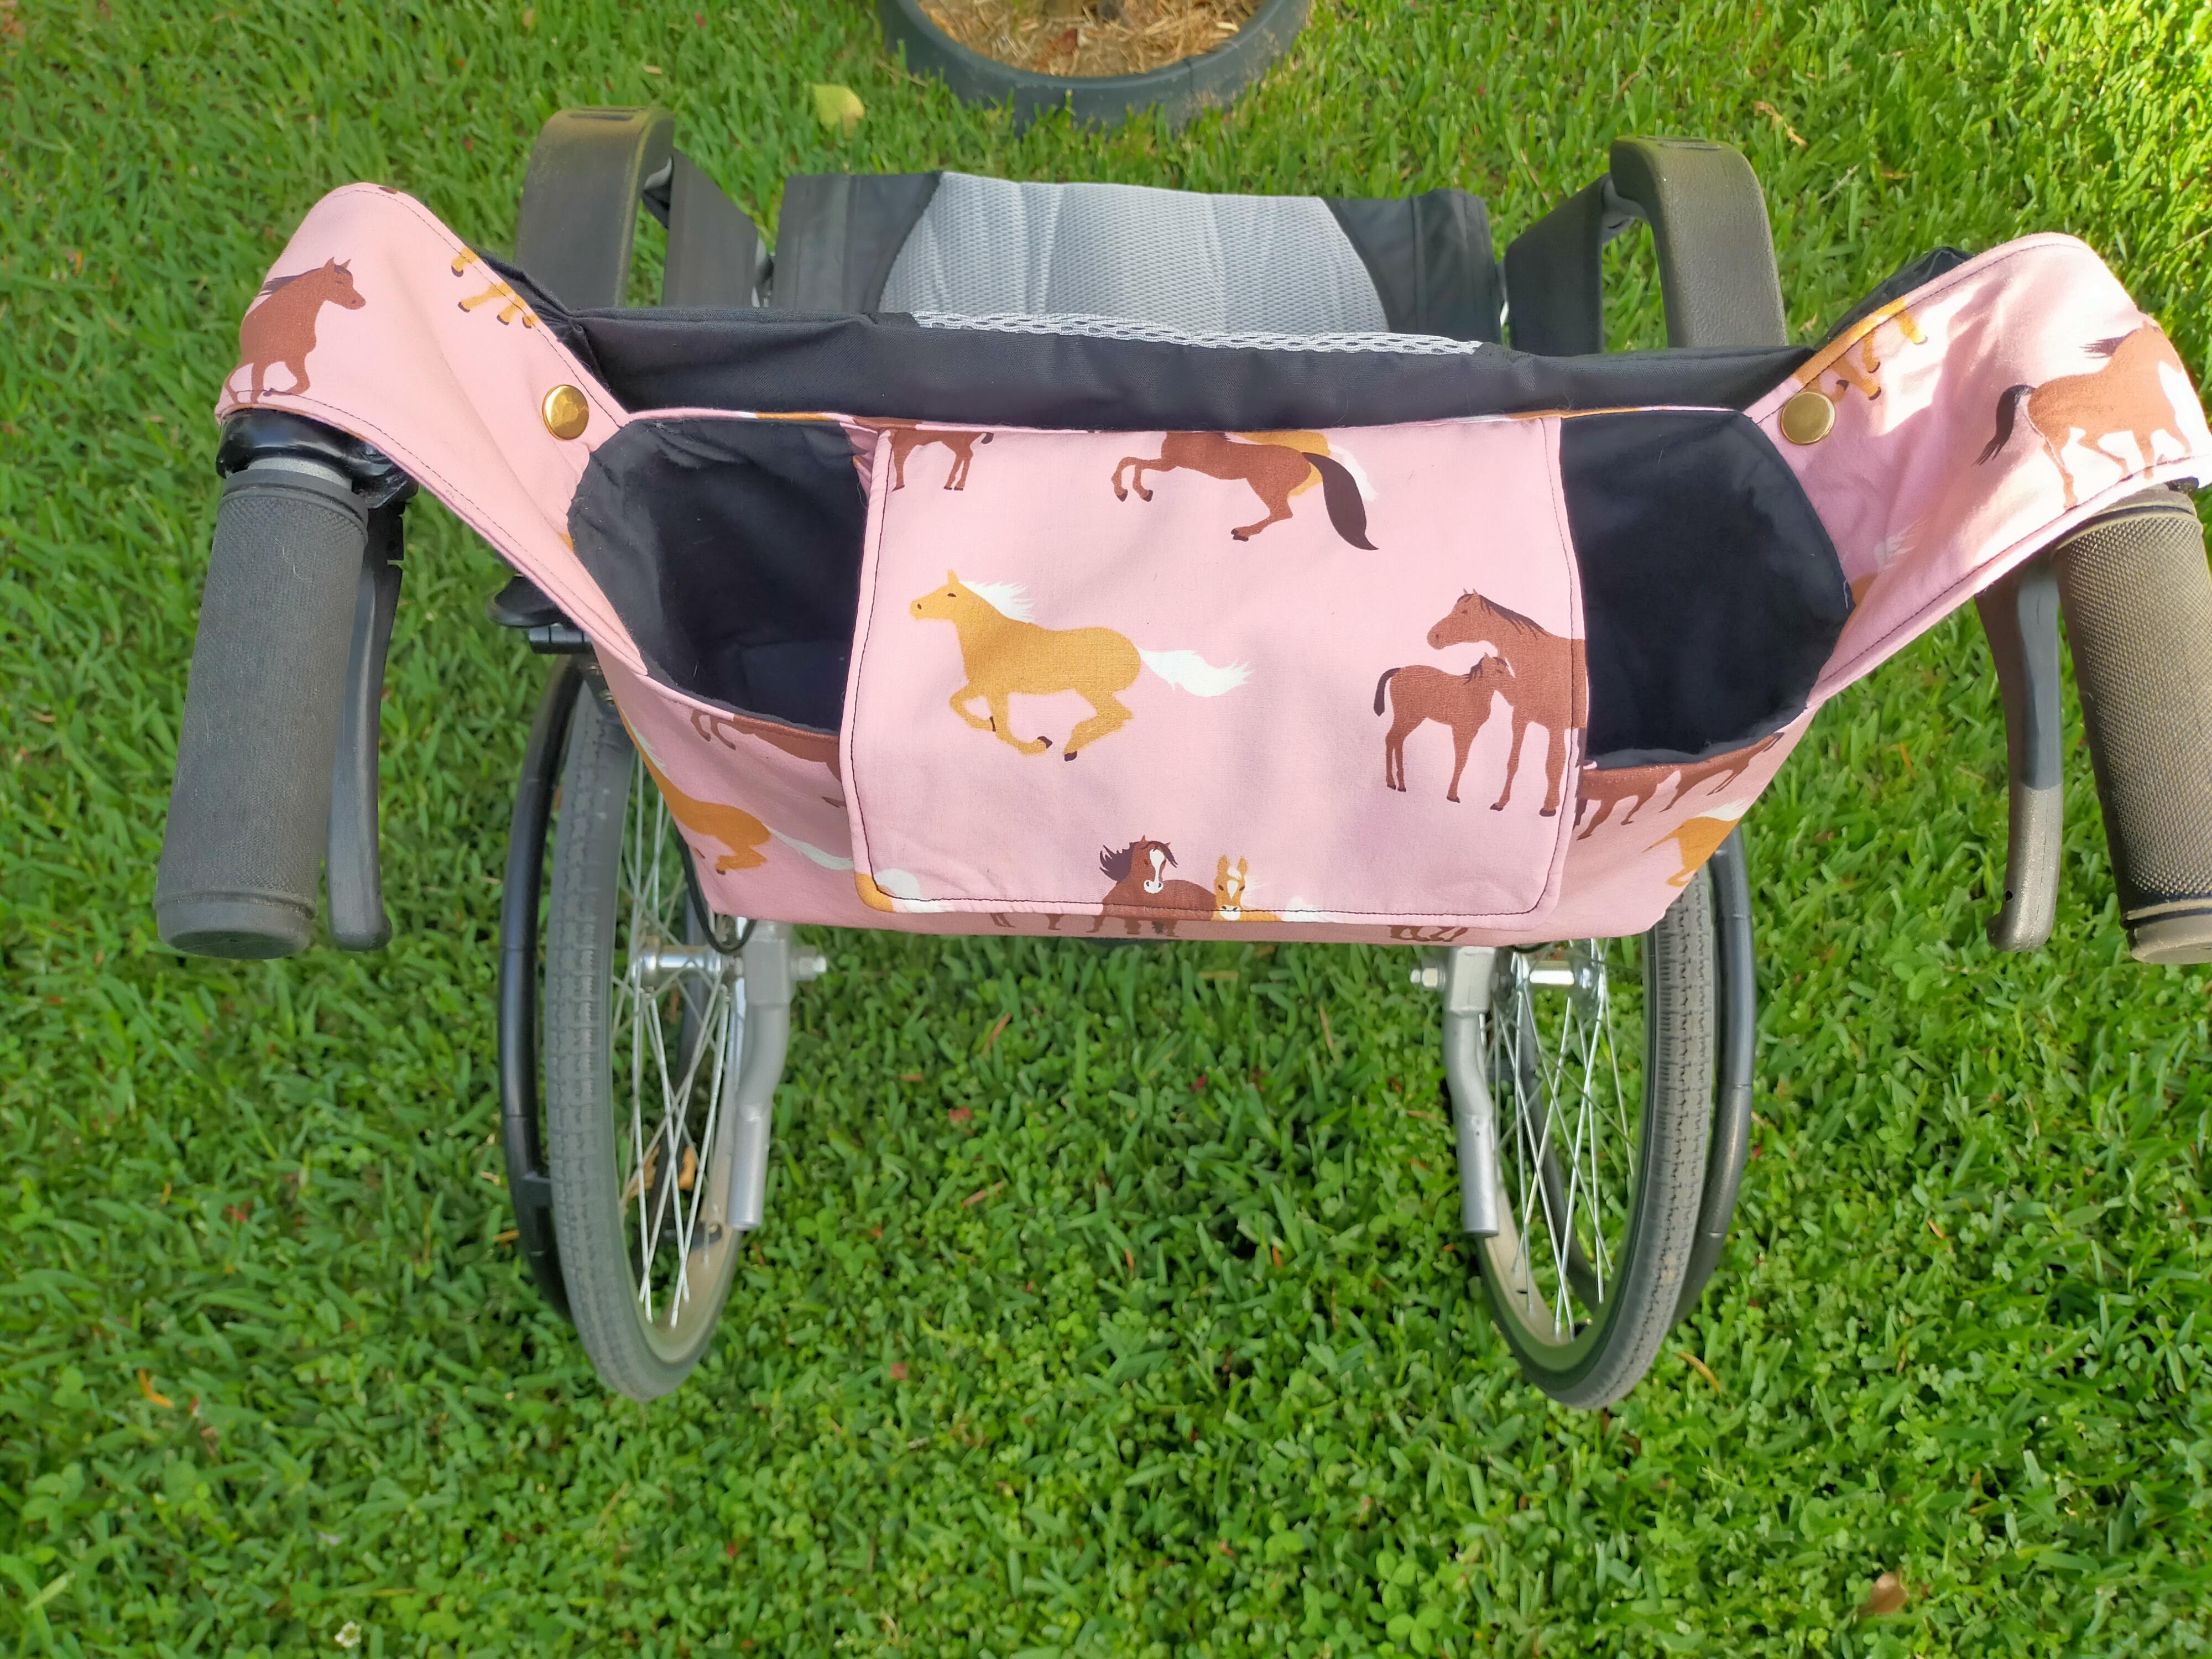
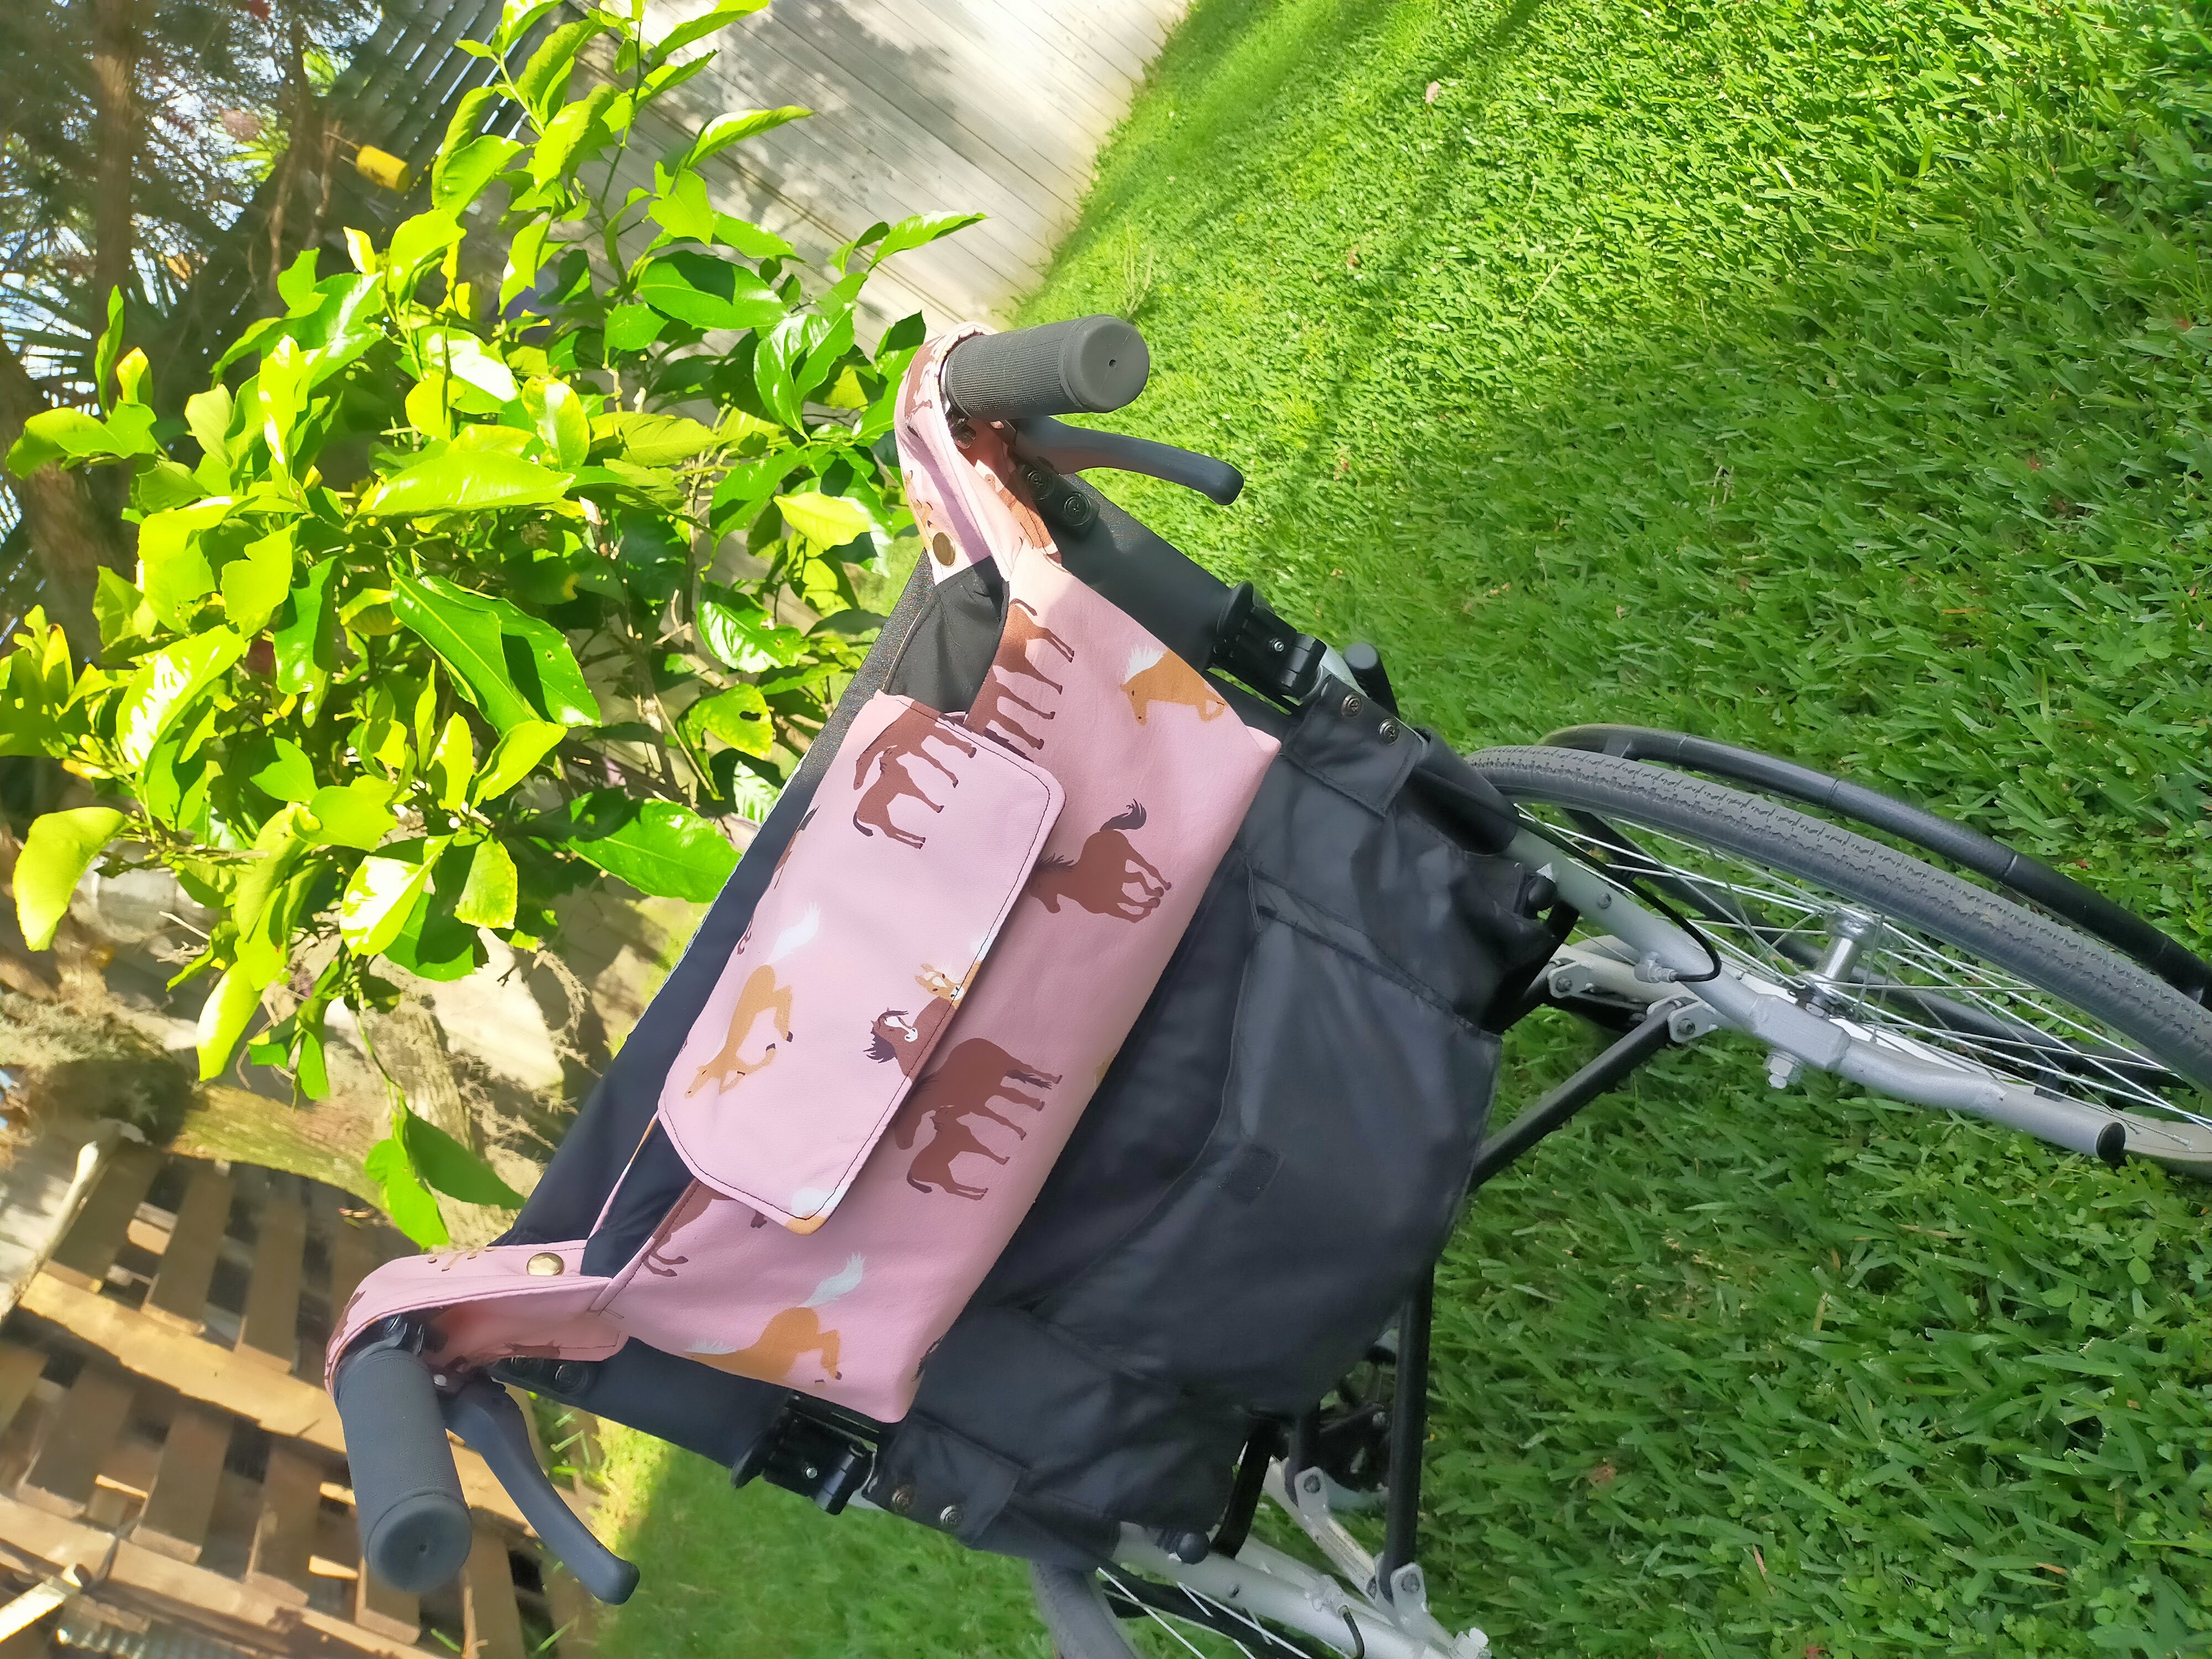
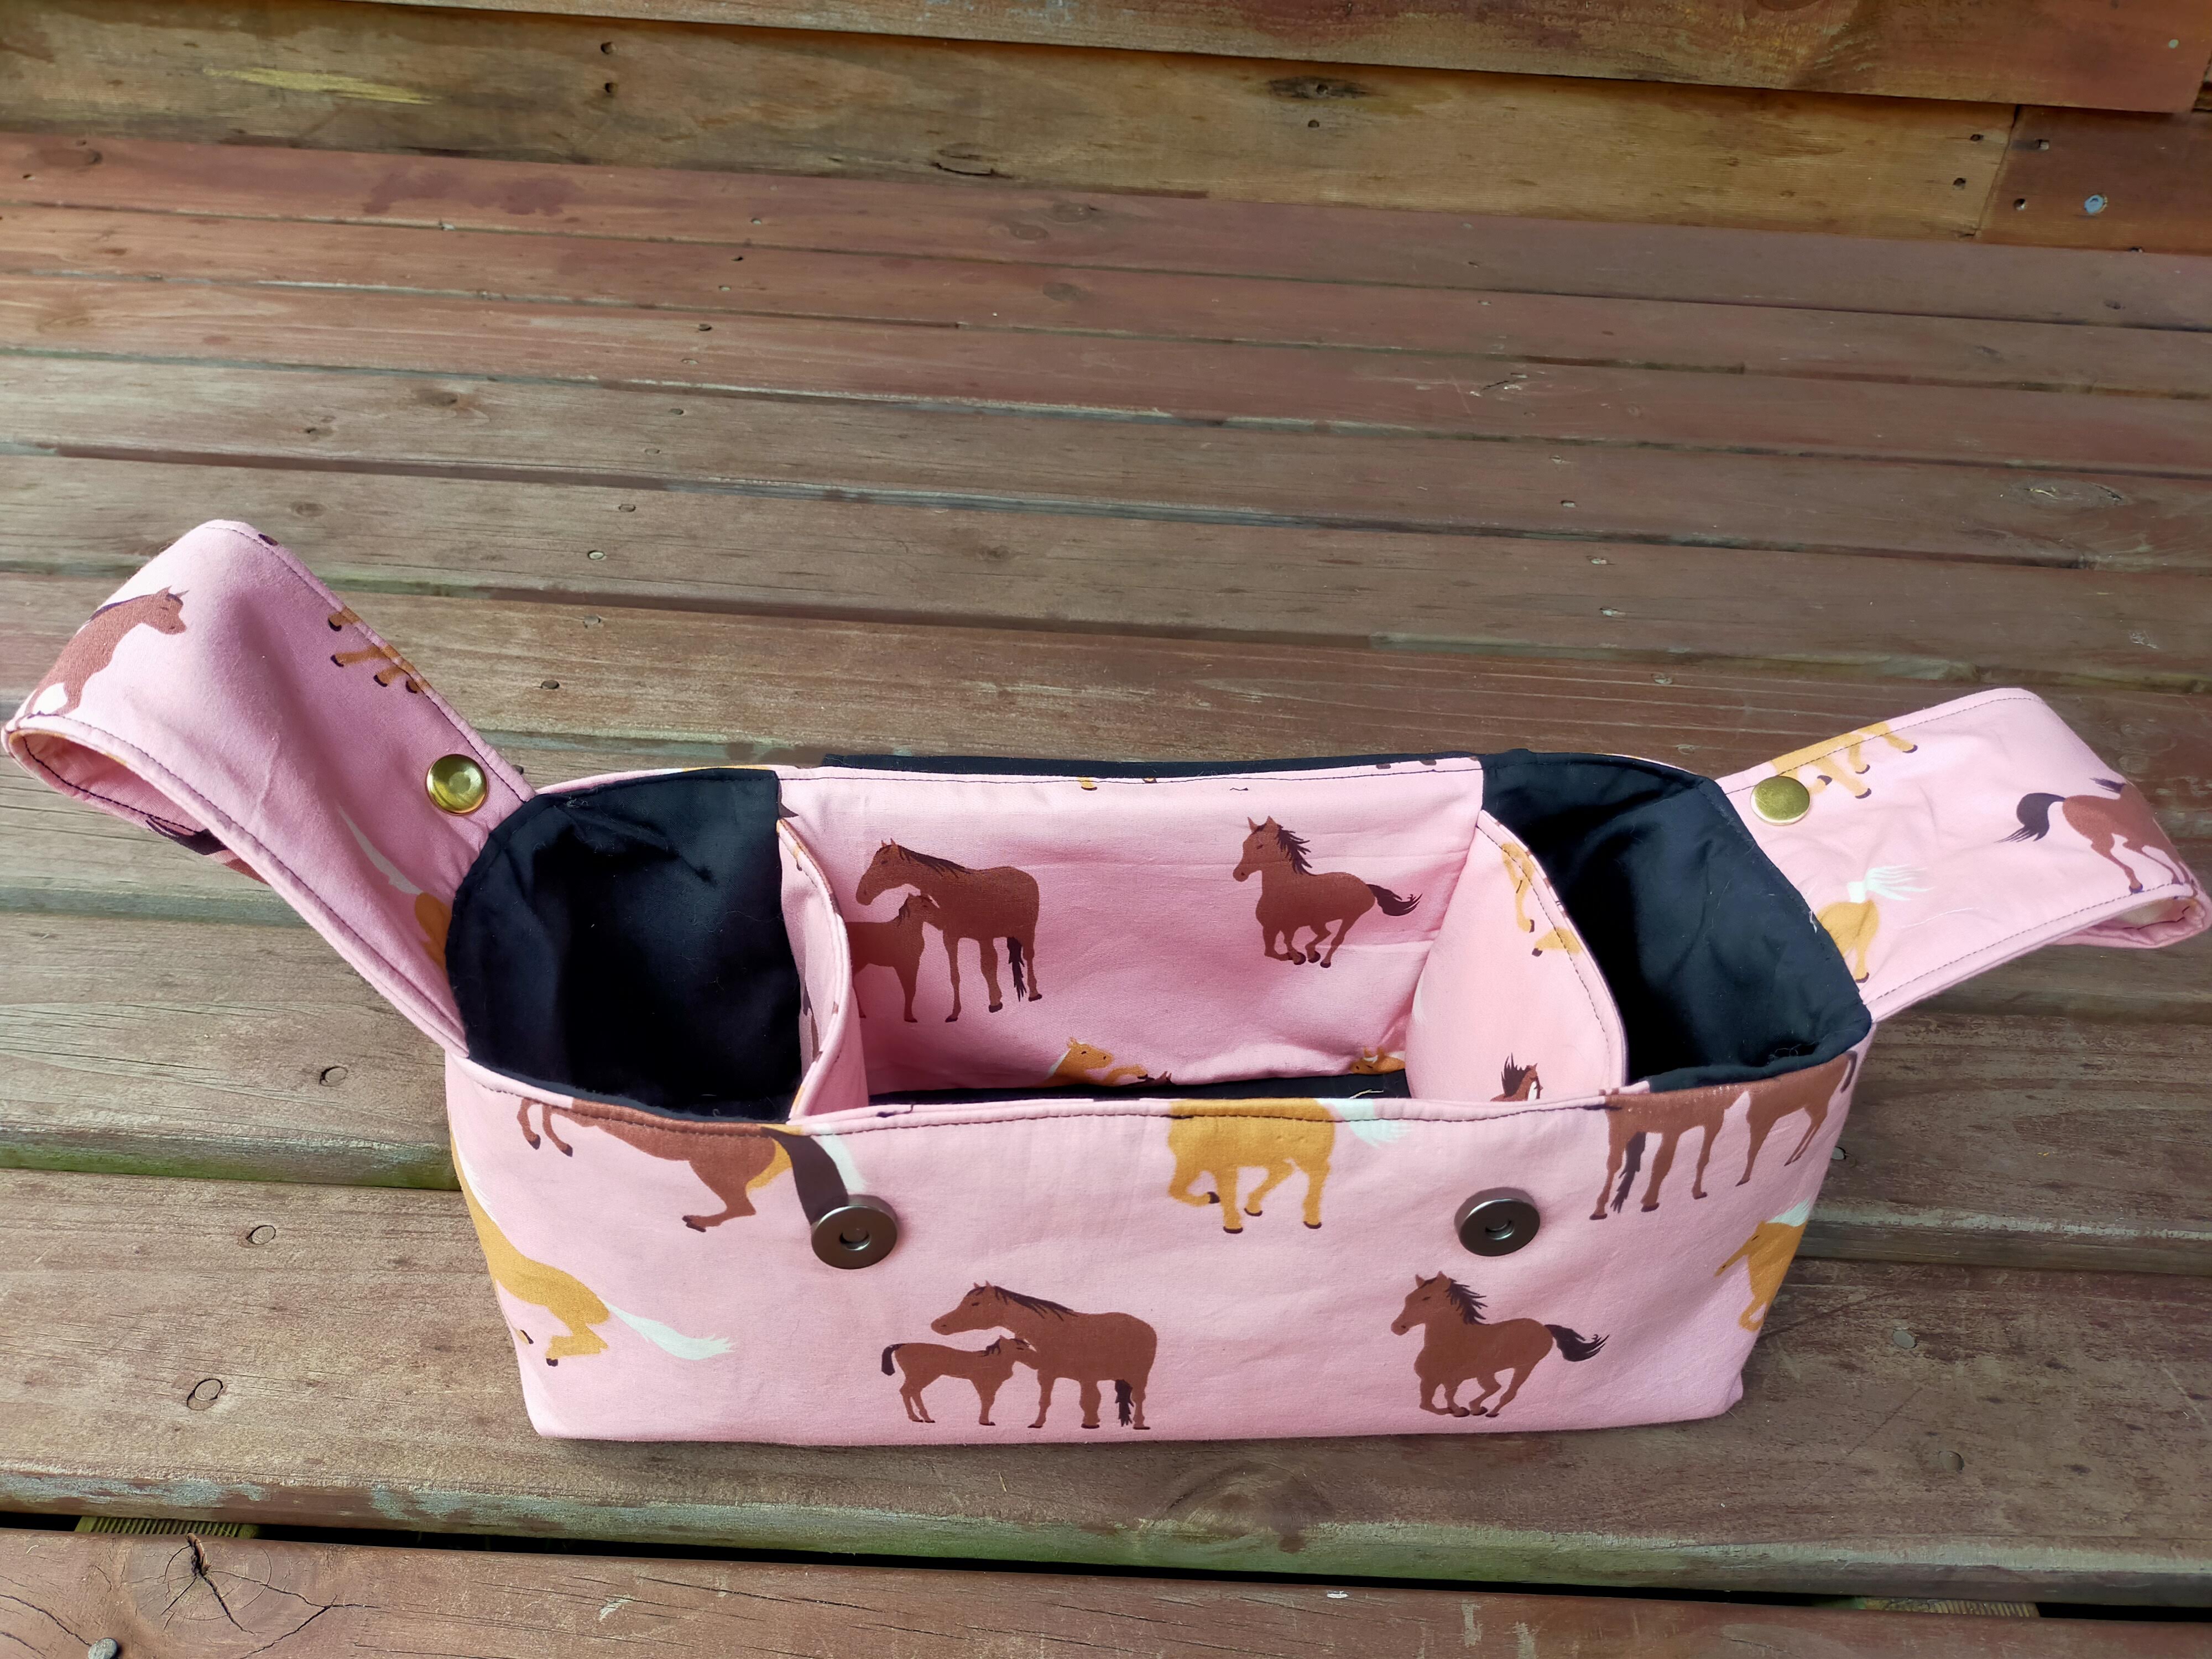
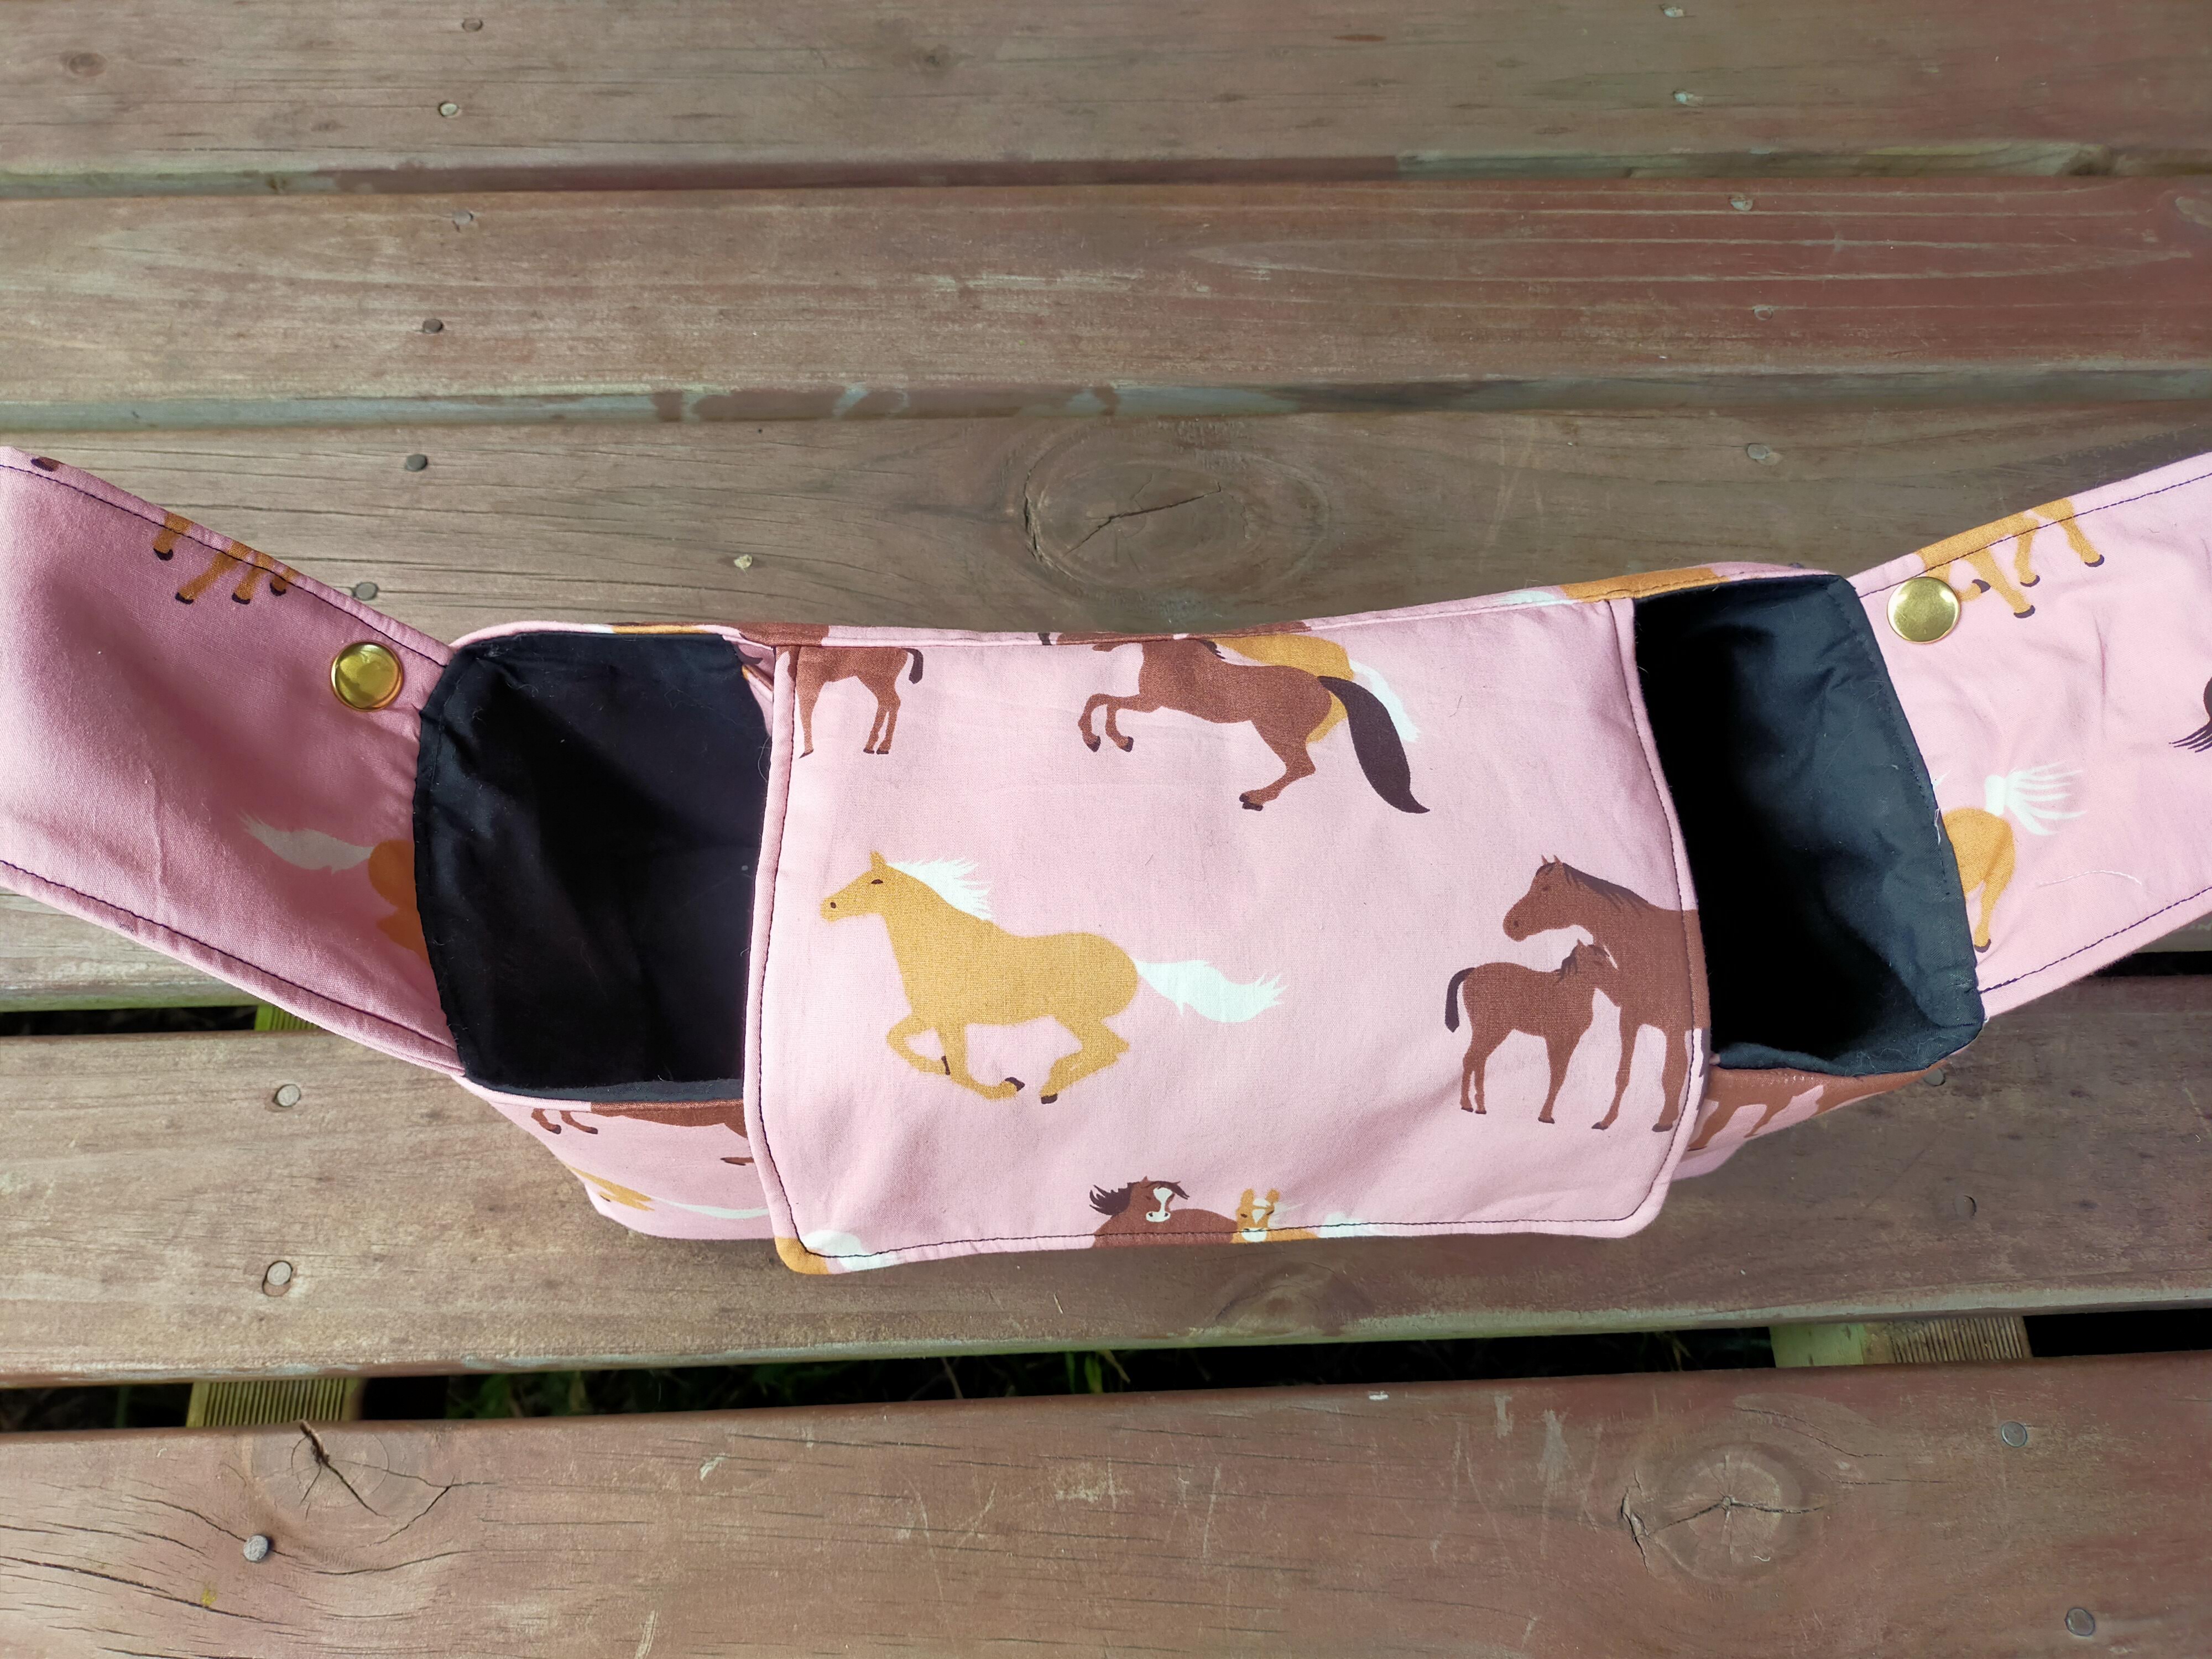
Wheelchair/Pram Caddy
This is my review/blog about this amazing pattern from Muffy Duck Designs!
- Beginner/Intermediate
- 2 – 5 hours (solid sewing)
- Reasonably Priced
- Lots of options
- Clear Directions
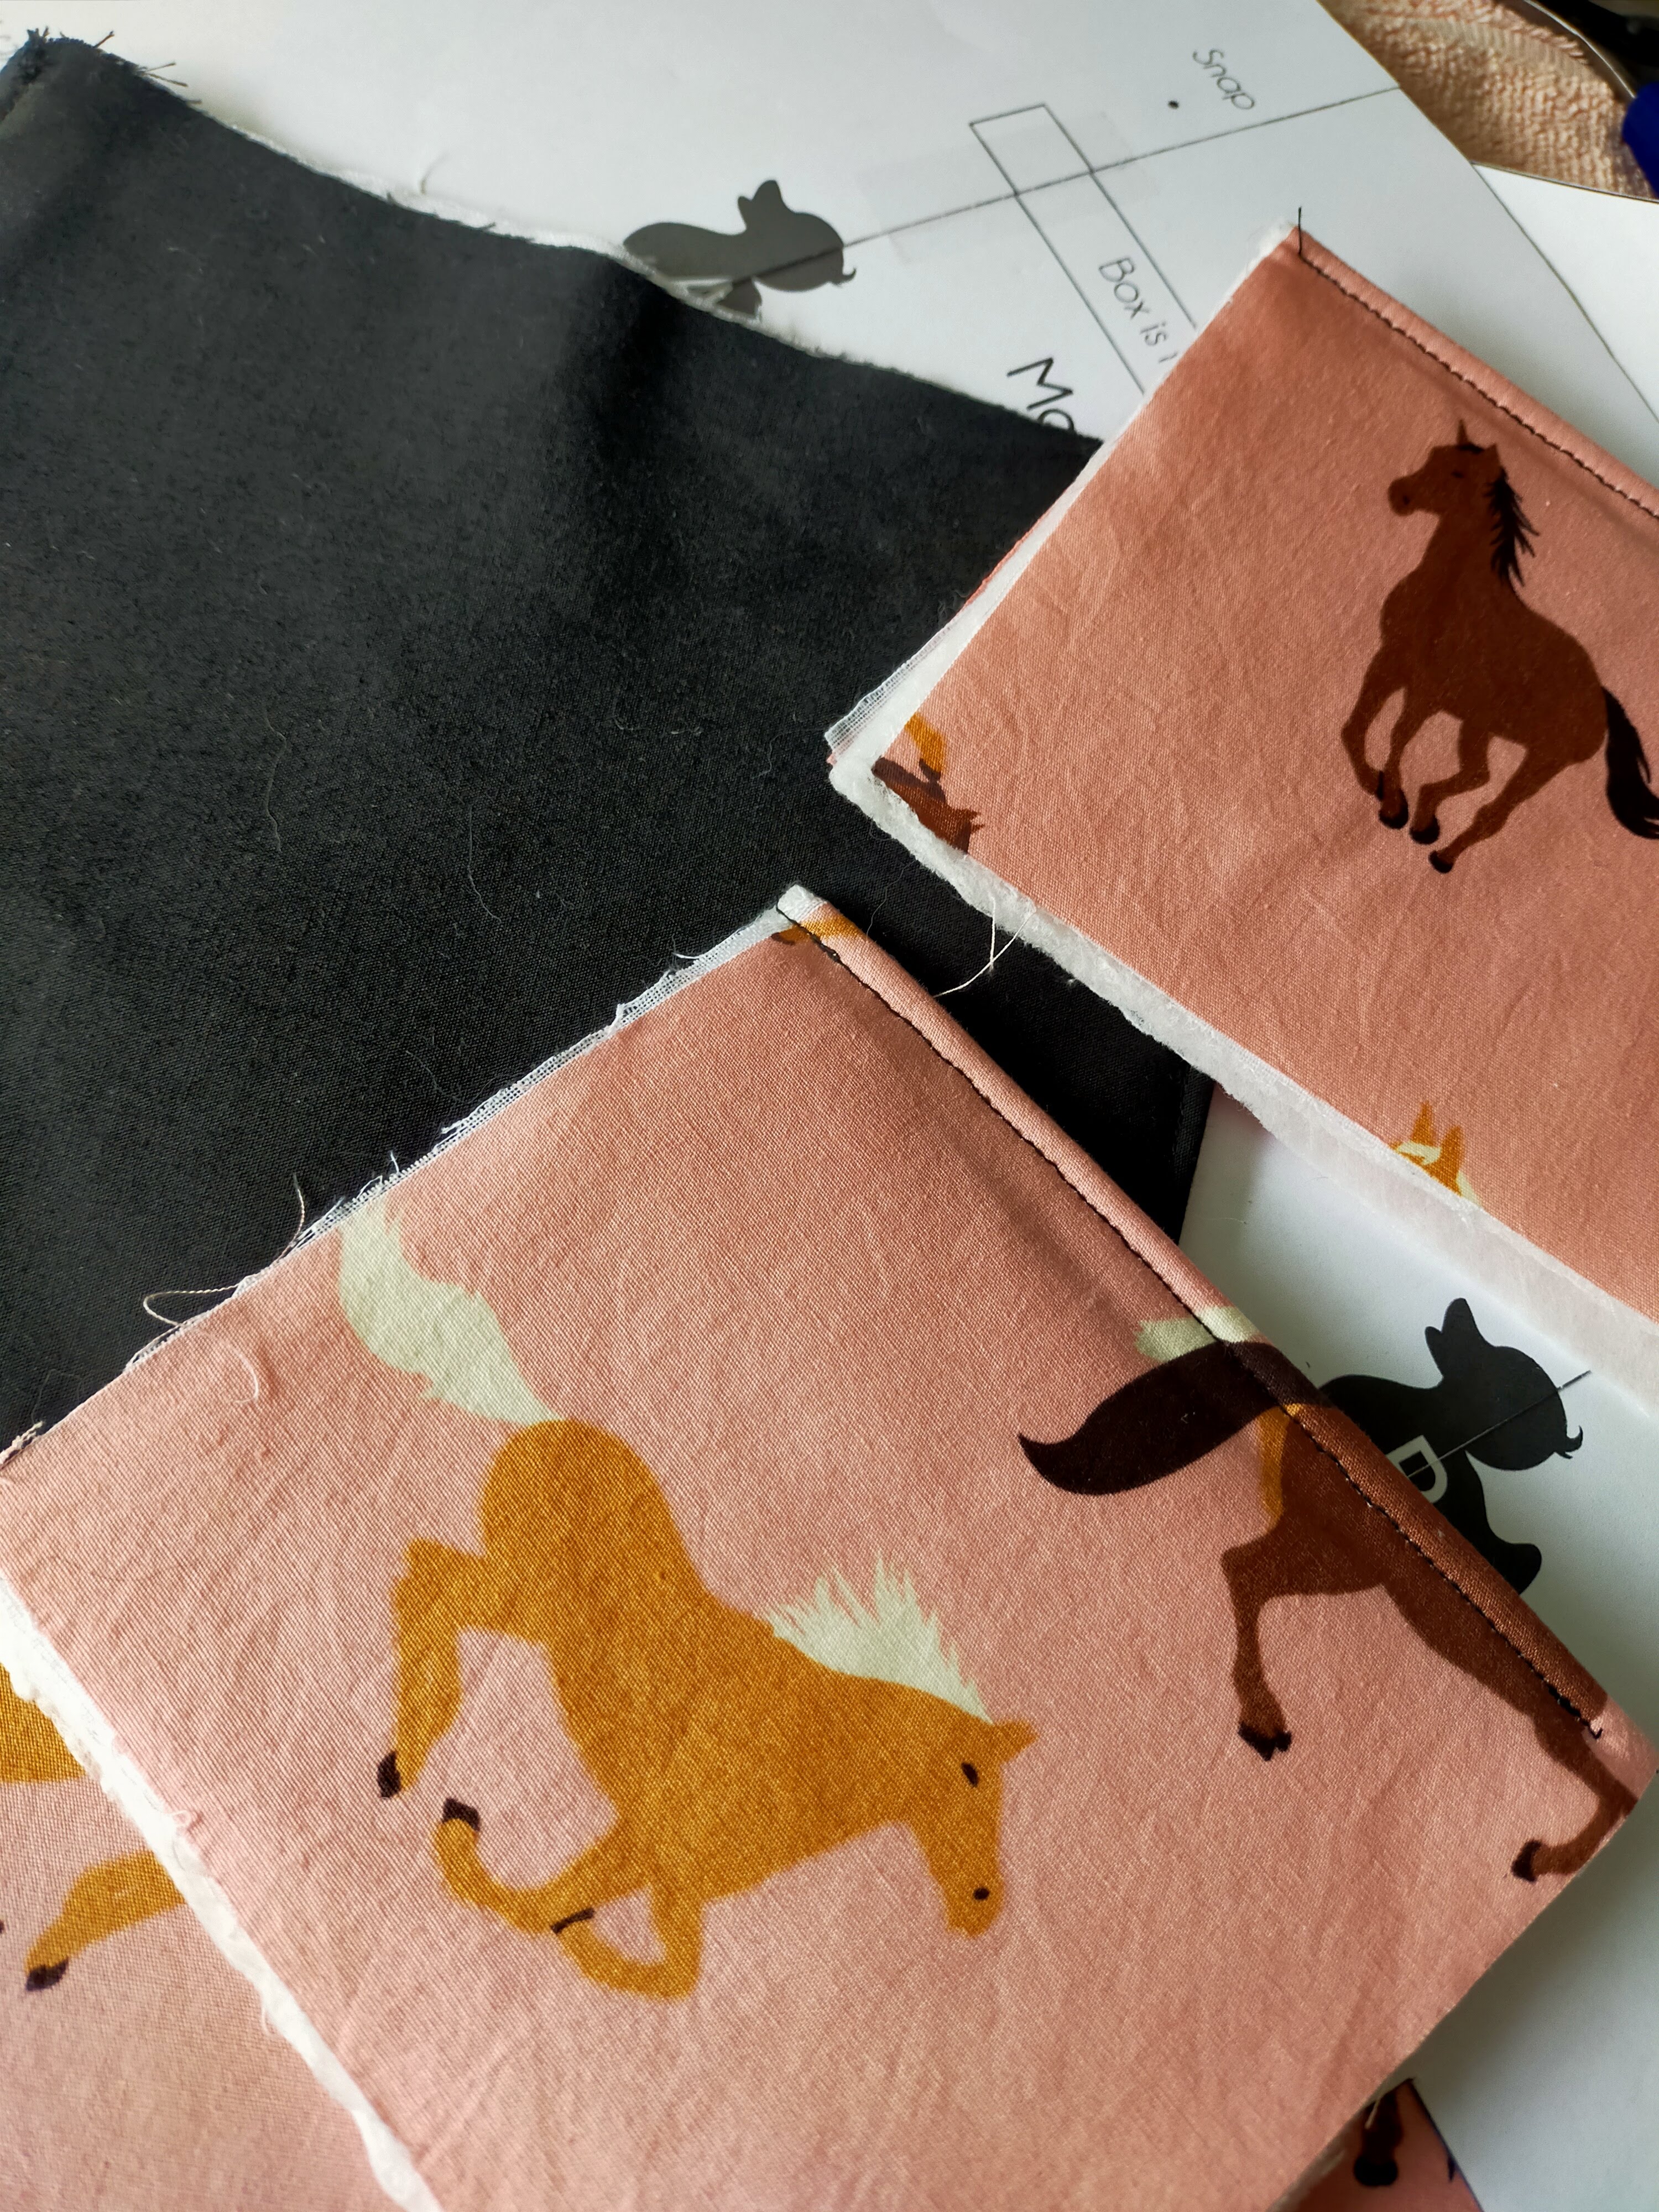
Once I found this pattern I spoke to her about what she thought we needed, and of course the fabric choice! The fabric has been sitting in the stash for many years, and gettings it’s first use on this project. We looked through for contrast fabric, however she wanted to go basic black for the contrast.
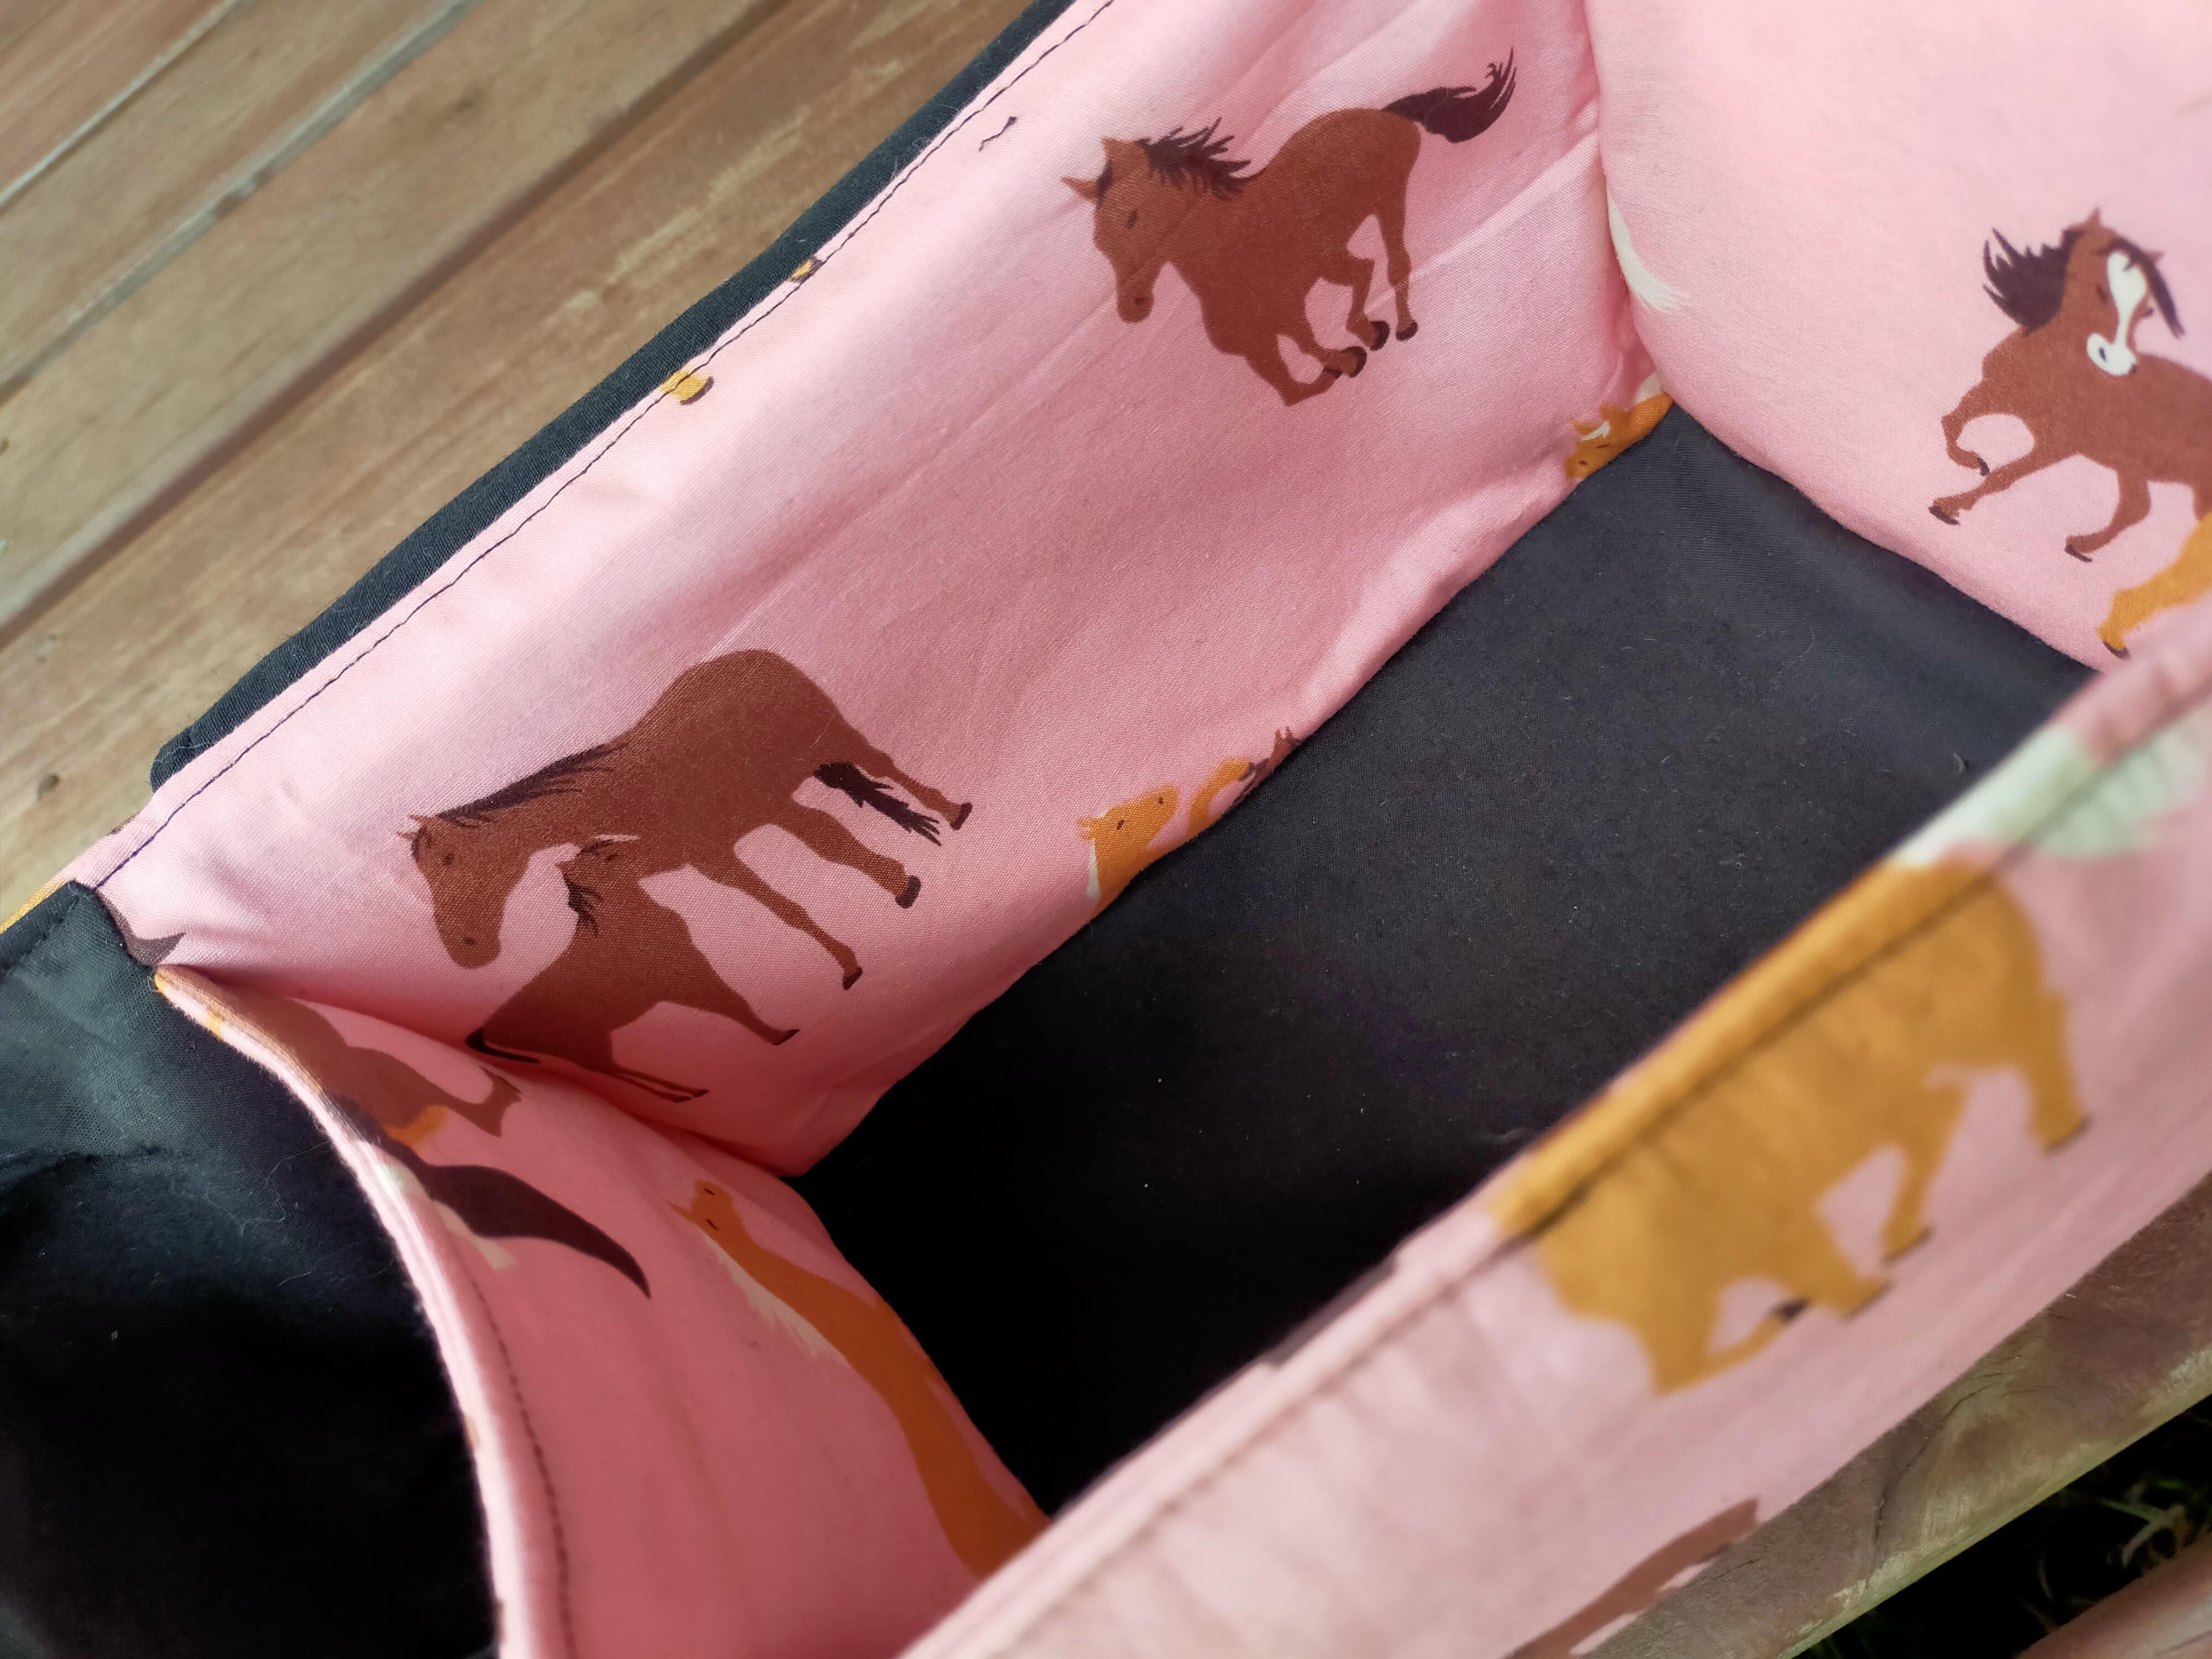
We also decided that we didn’t need any of the optional pockets, so I guess that made it a little bit easier, hence my beginner/intermediate rating. I still feel that I would have been able to achieve the pockets had we opted to do them. I had never worked with stabliliser before, so that was something I needed to pay particular attention to in order to make sure I purchased the right thing.
The pattern & instructions – I found them super easy to follow, loved the video tutorials being broken into the steps with a link to each one. I watched the bits I struggled with, and skipped the bits I didn’t, found it way easier than having to sit through or sift through a full video to find the bits I needed.
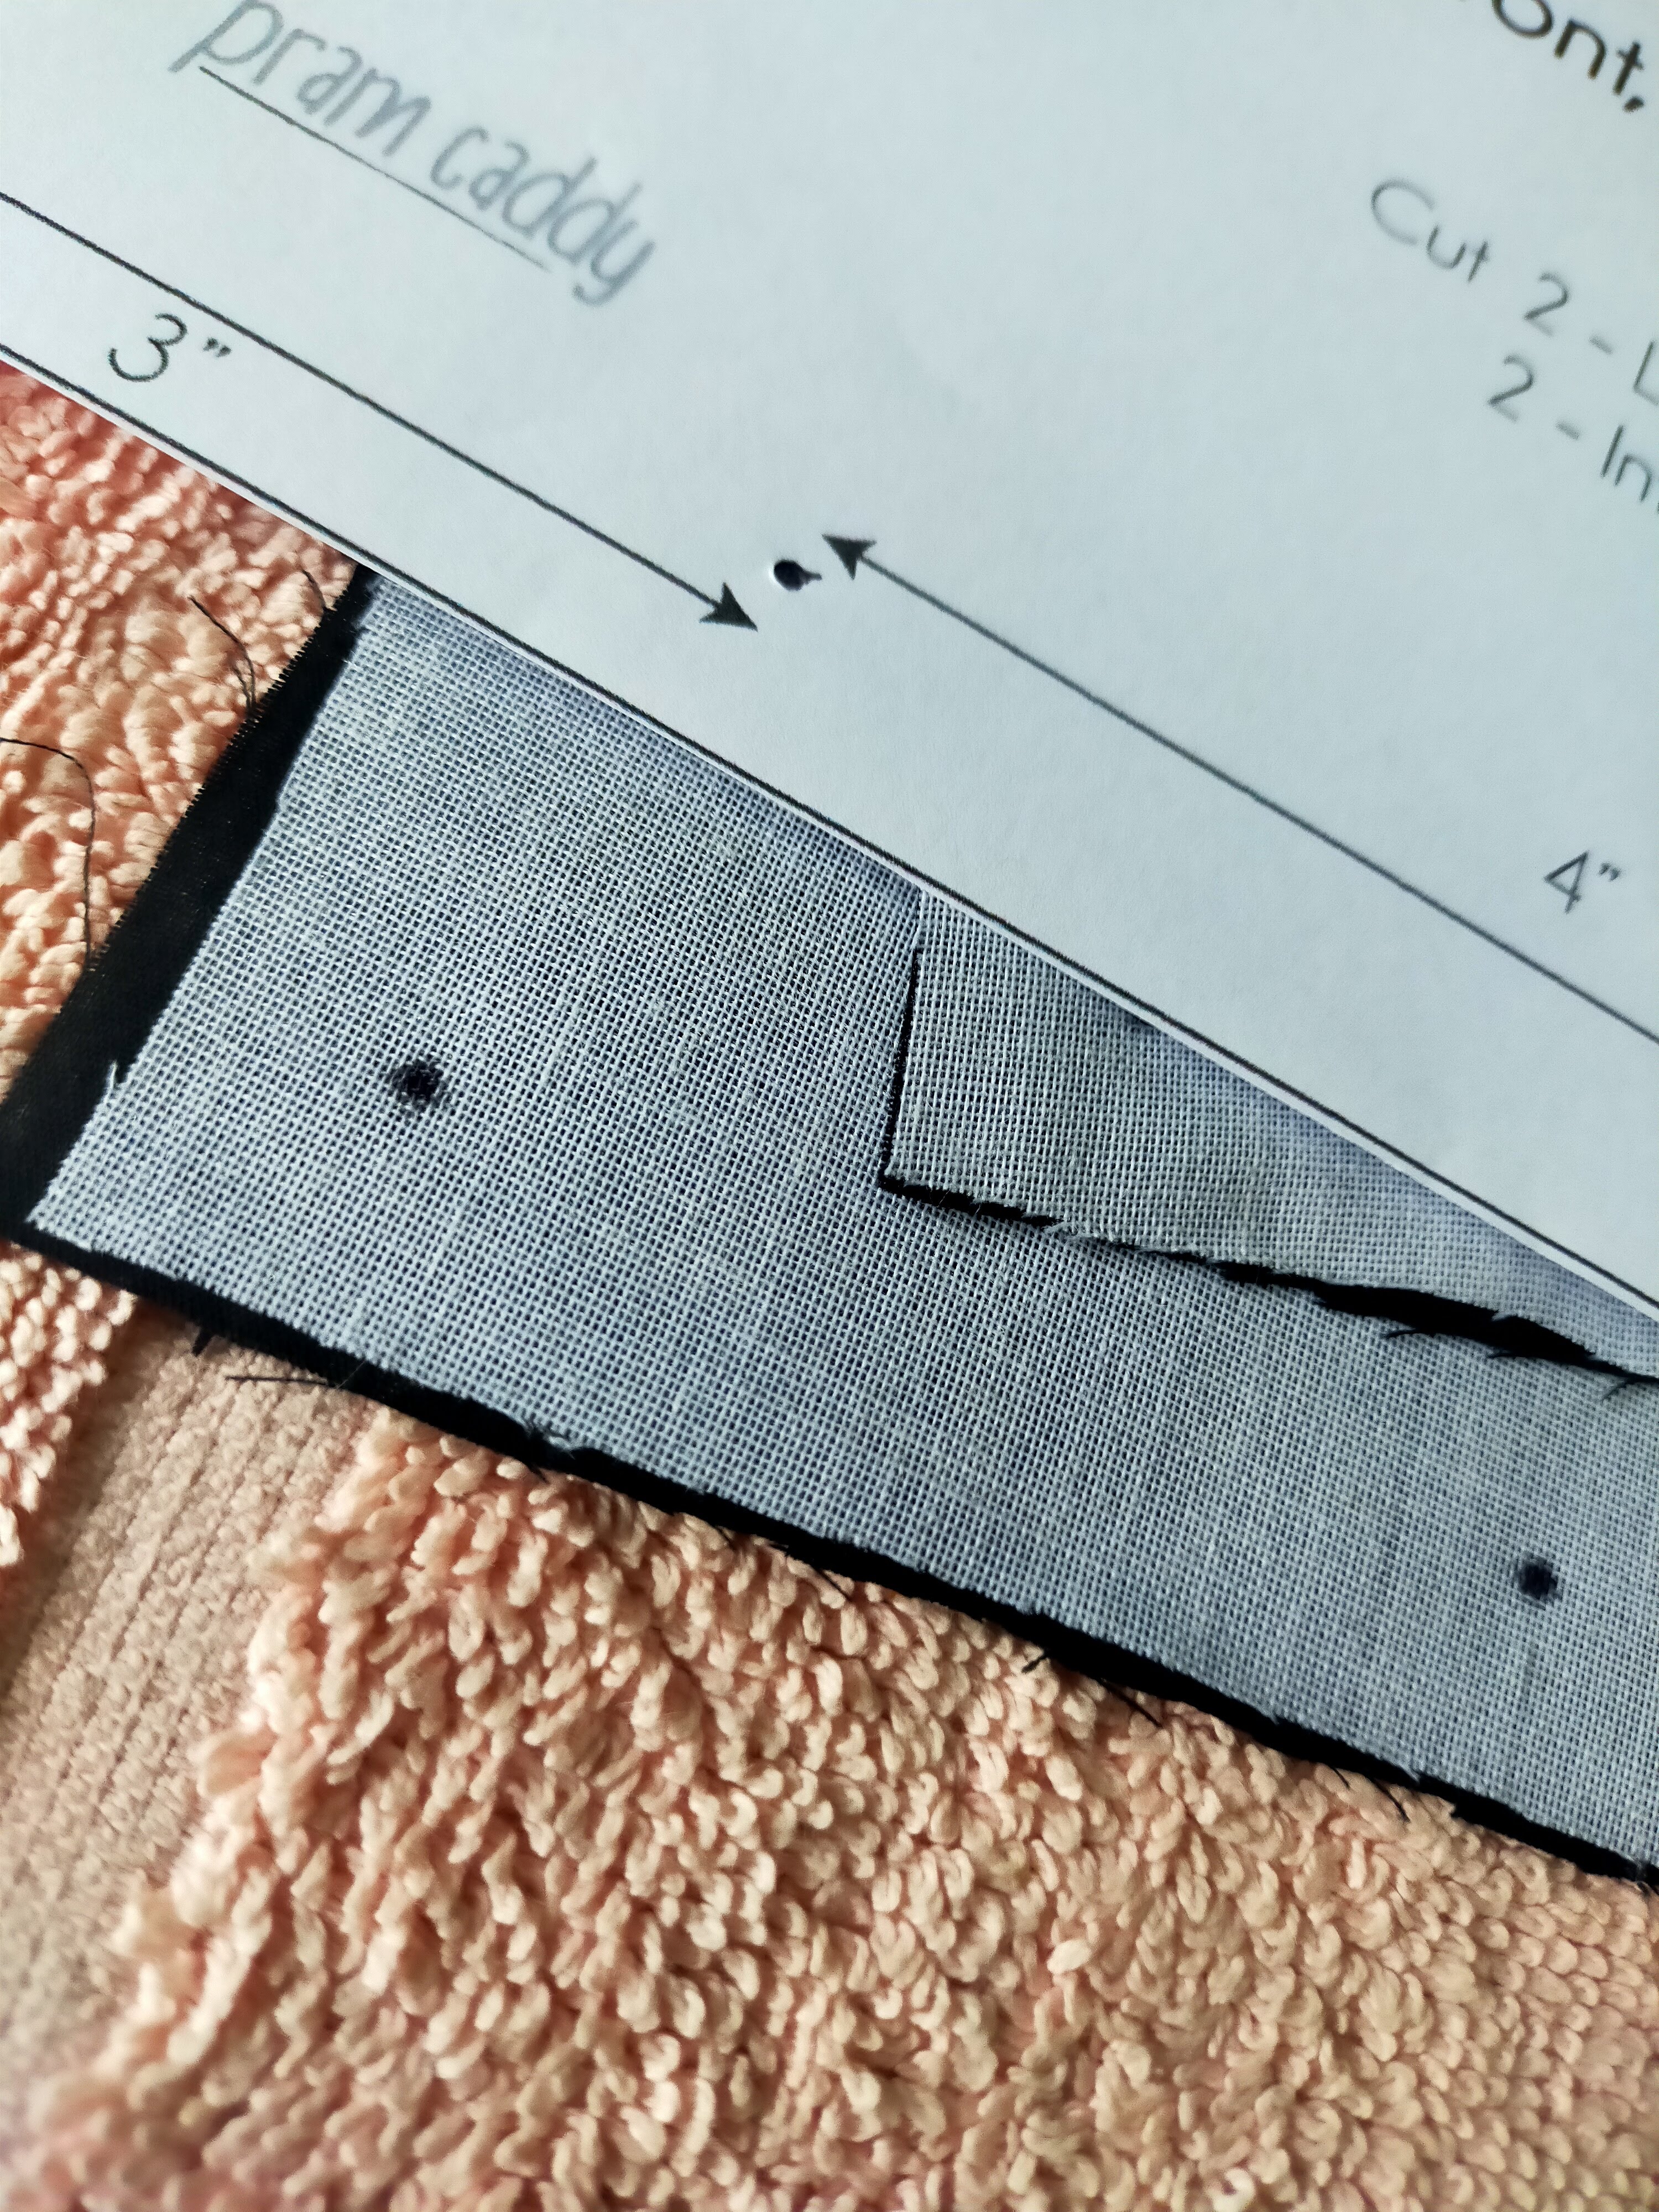
The pattern pieces were clearly marked and very easy to construct and follow. I wasn’t going to print them all, but decided to so I could keep track of what piece was what, I didn’t want to end up in a muddle.
** Trick note from me, I didn’t measure anything in order to mark the dots, I simply put the pattern piece back over and pierced a hole through with a pen to mark, yep that is the ‘not perfectionist part of me. On this occassion it worked for me.
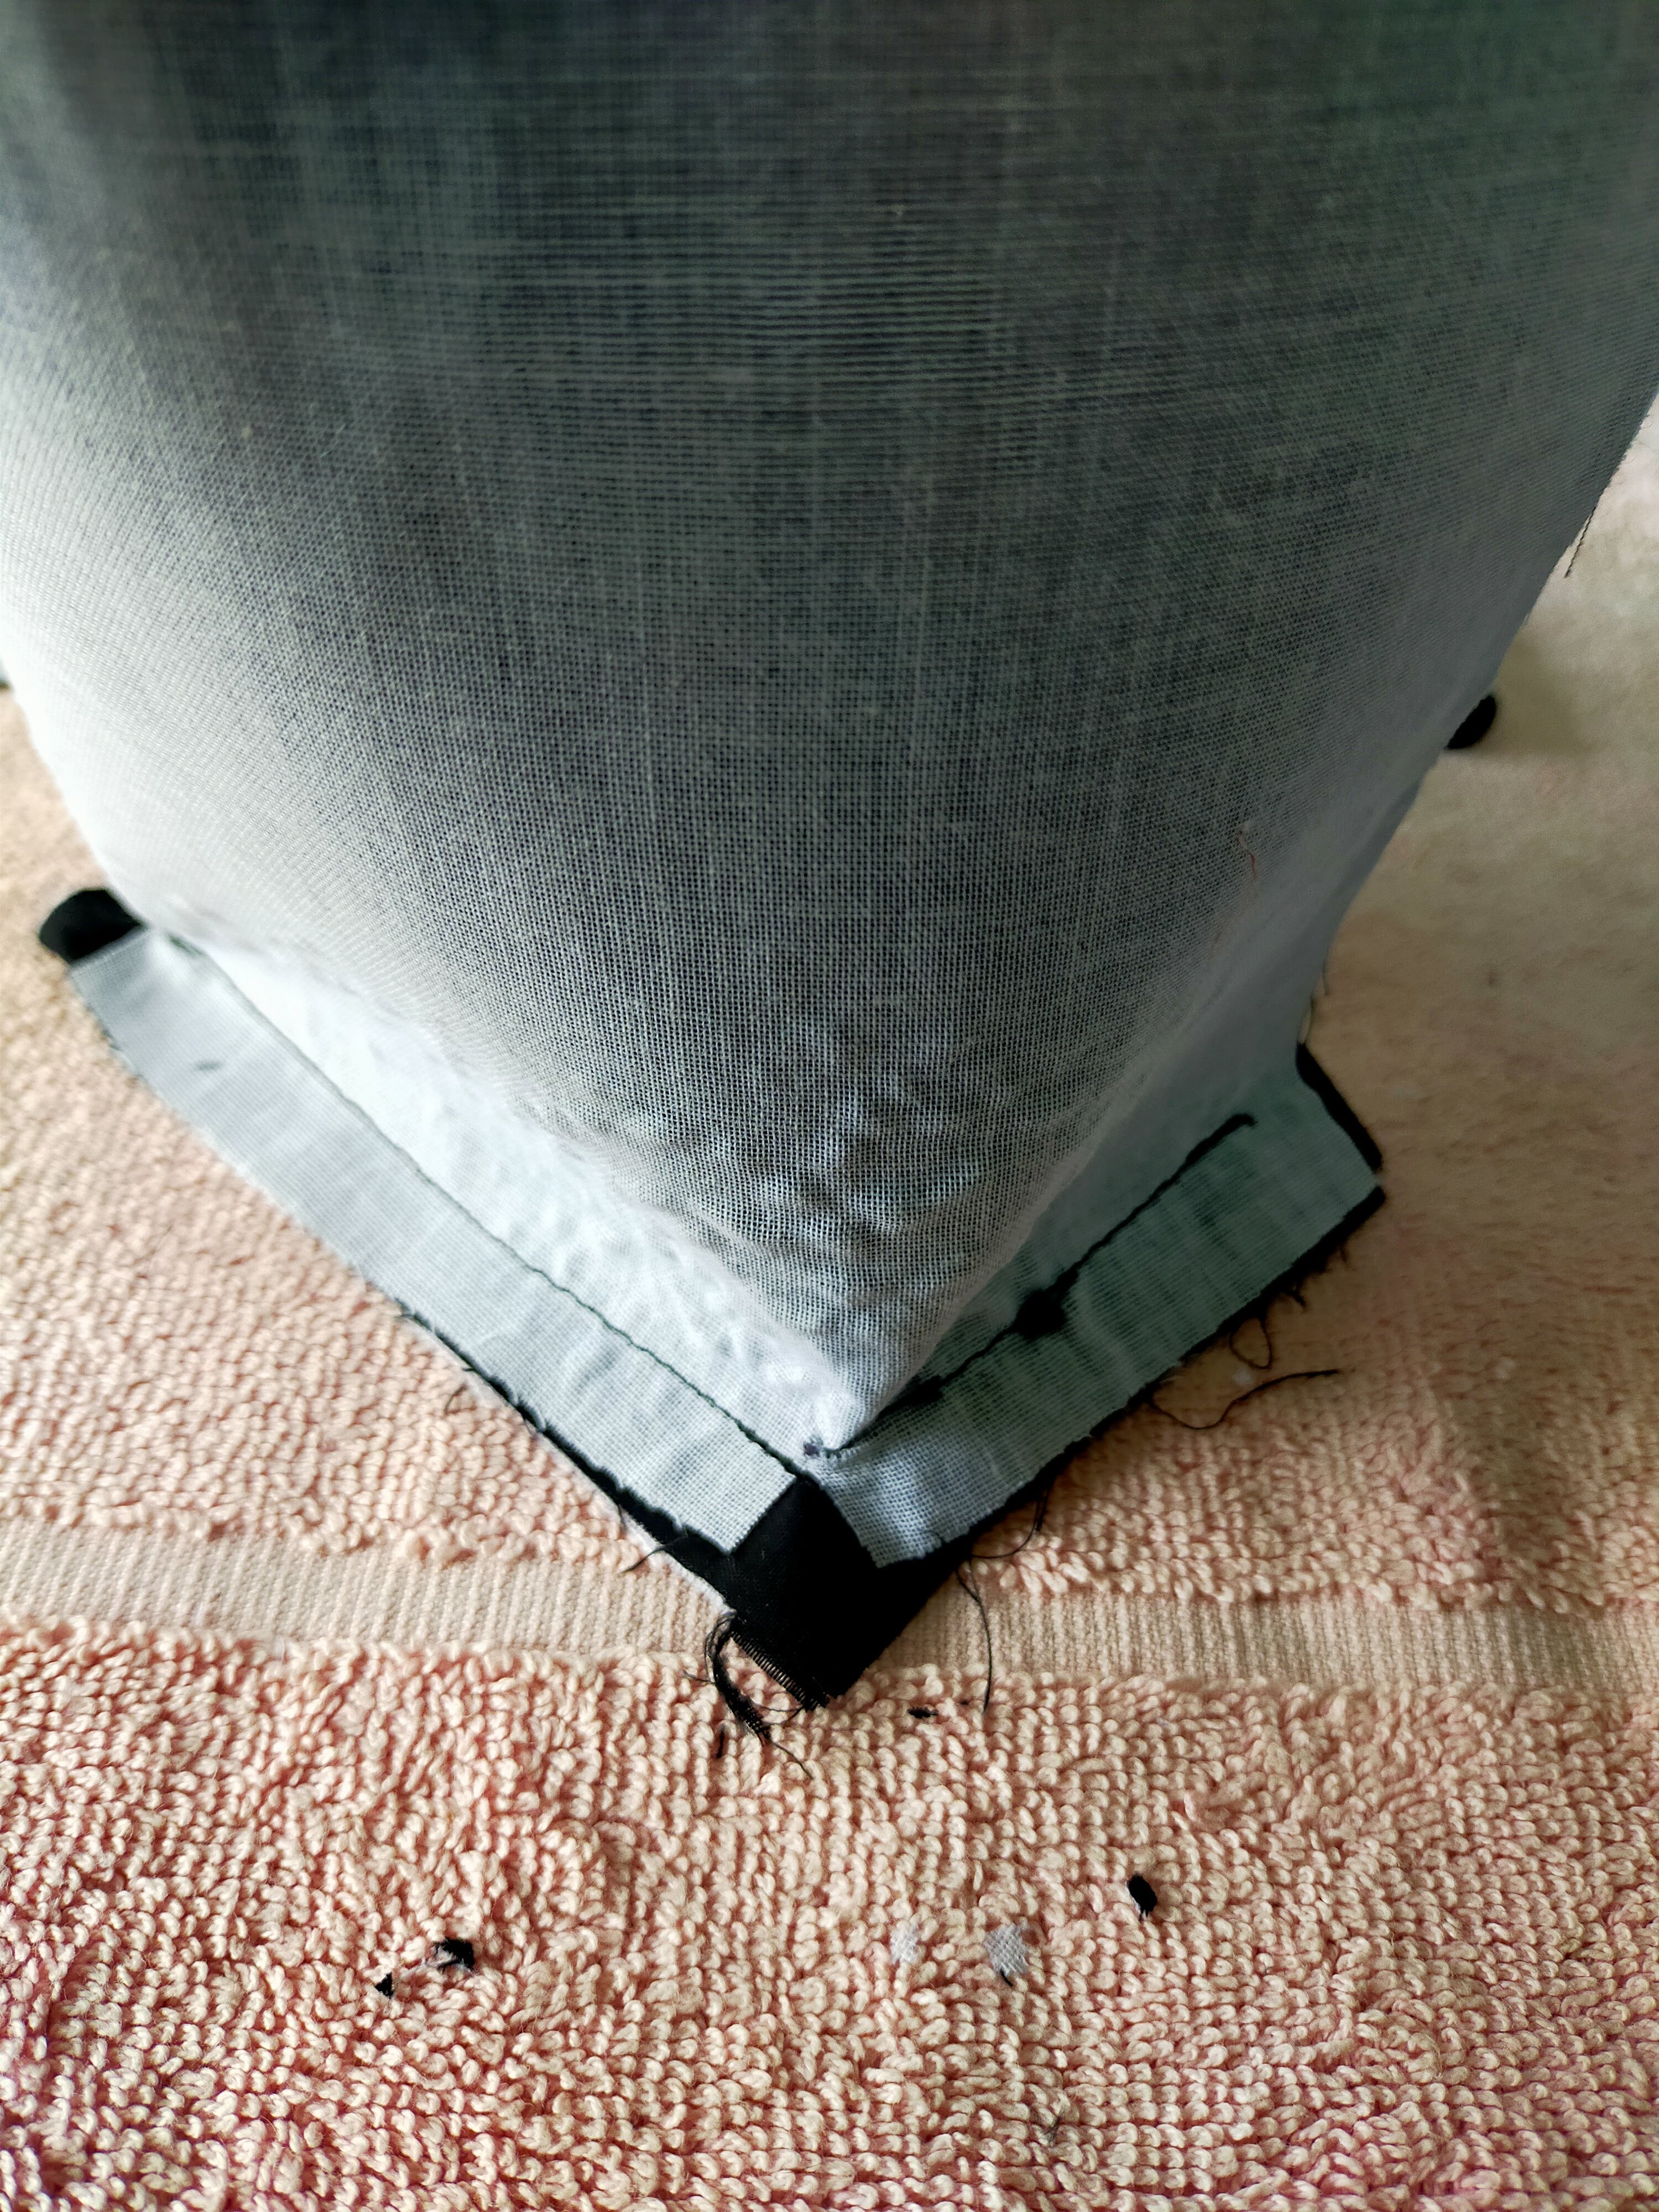
The challenges – The biggest thing I found tricky was working with so many layers and making sure they all lined up where they were meant to. For the most part I did this well, by following the instructions is just magically worked 
This is the first time I have done a lining of a bag like this, have the two sections on top of each other and sewing, once I looked over the instructions and video I found it easier than I thought it would be.
** This is where my ‘not perfectionist’ part let me down a bit. My flap section didn’t line up properly, as I opted for all clips, no pins and it must have slipped while I was sewing. However for the purpose it works fine, it is just a little off centre. If I was giving as a gift I would obviously have unpicked and re-done it.
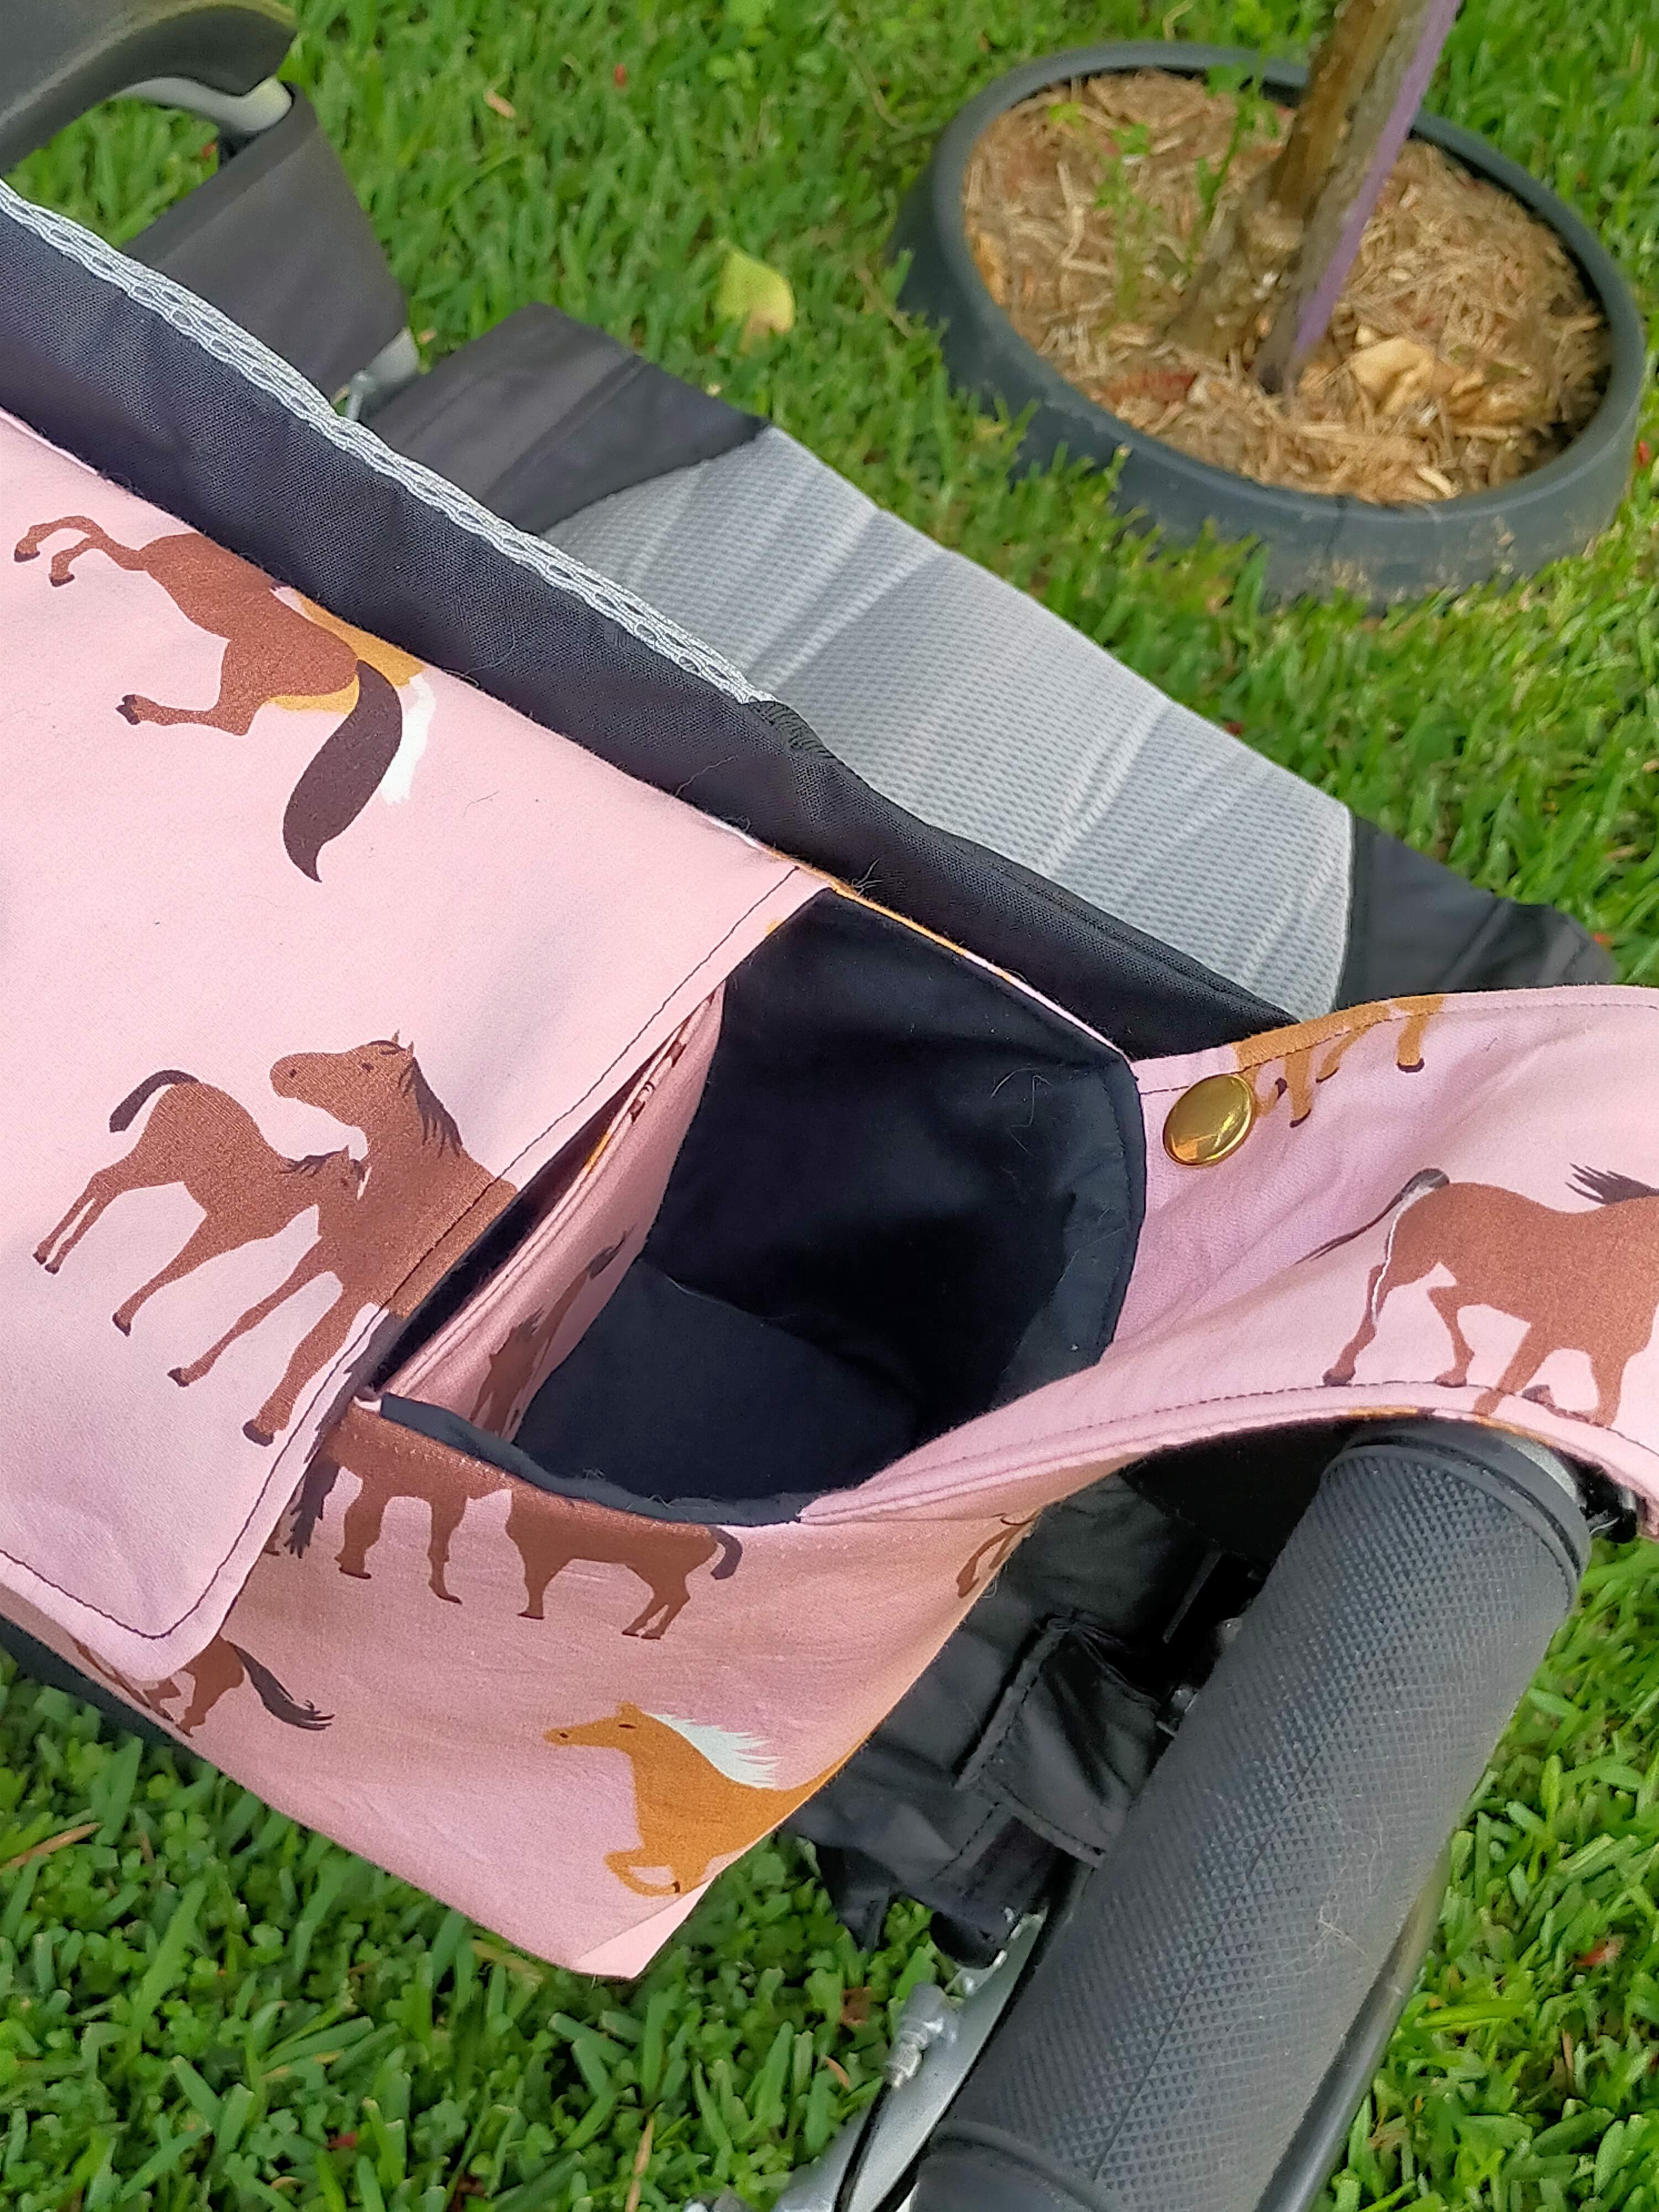
Overall – Totally happy with this pattern and the way it turned out. I am only sad that I don’t have little people in my life to try some of the other patterns on the site. I might look at giving this another go for my charity sewing, so I can see how I will go with the optional pockets.

You May Also Like

Archives
September 5, 2021
Bazzinga the duckling…
January 16, 2011
