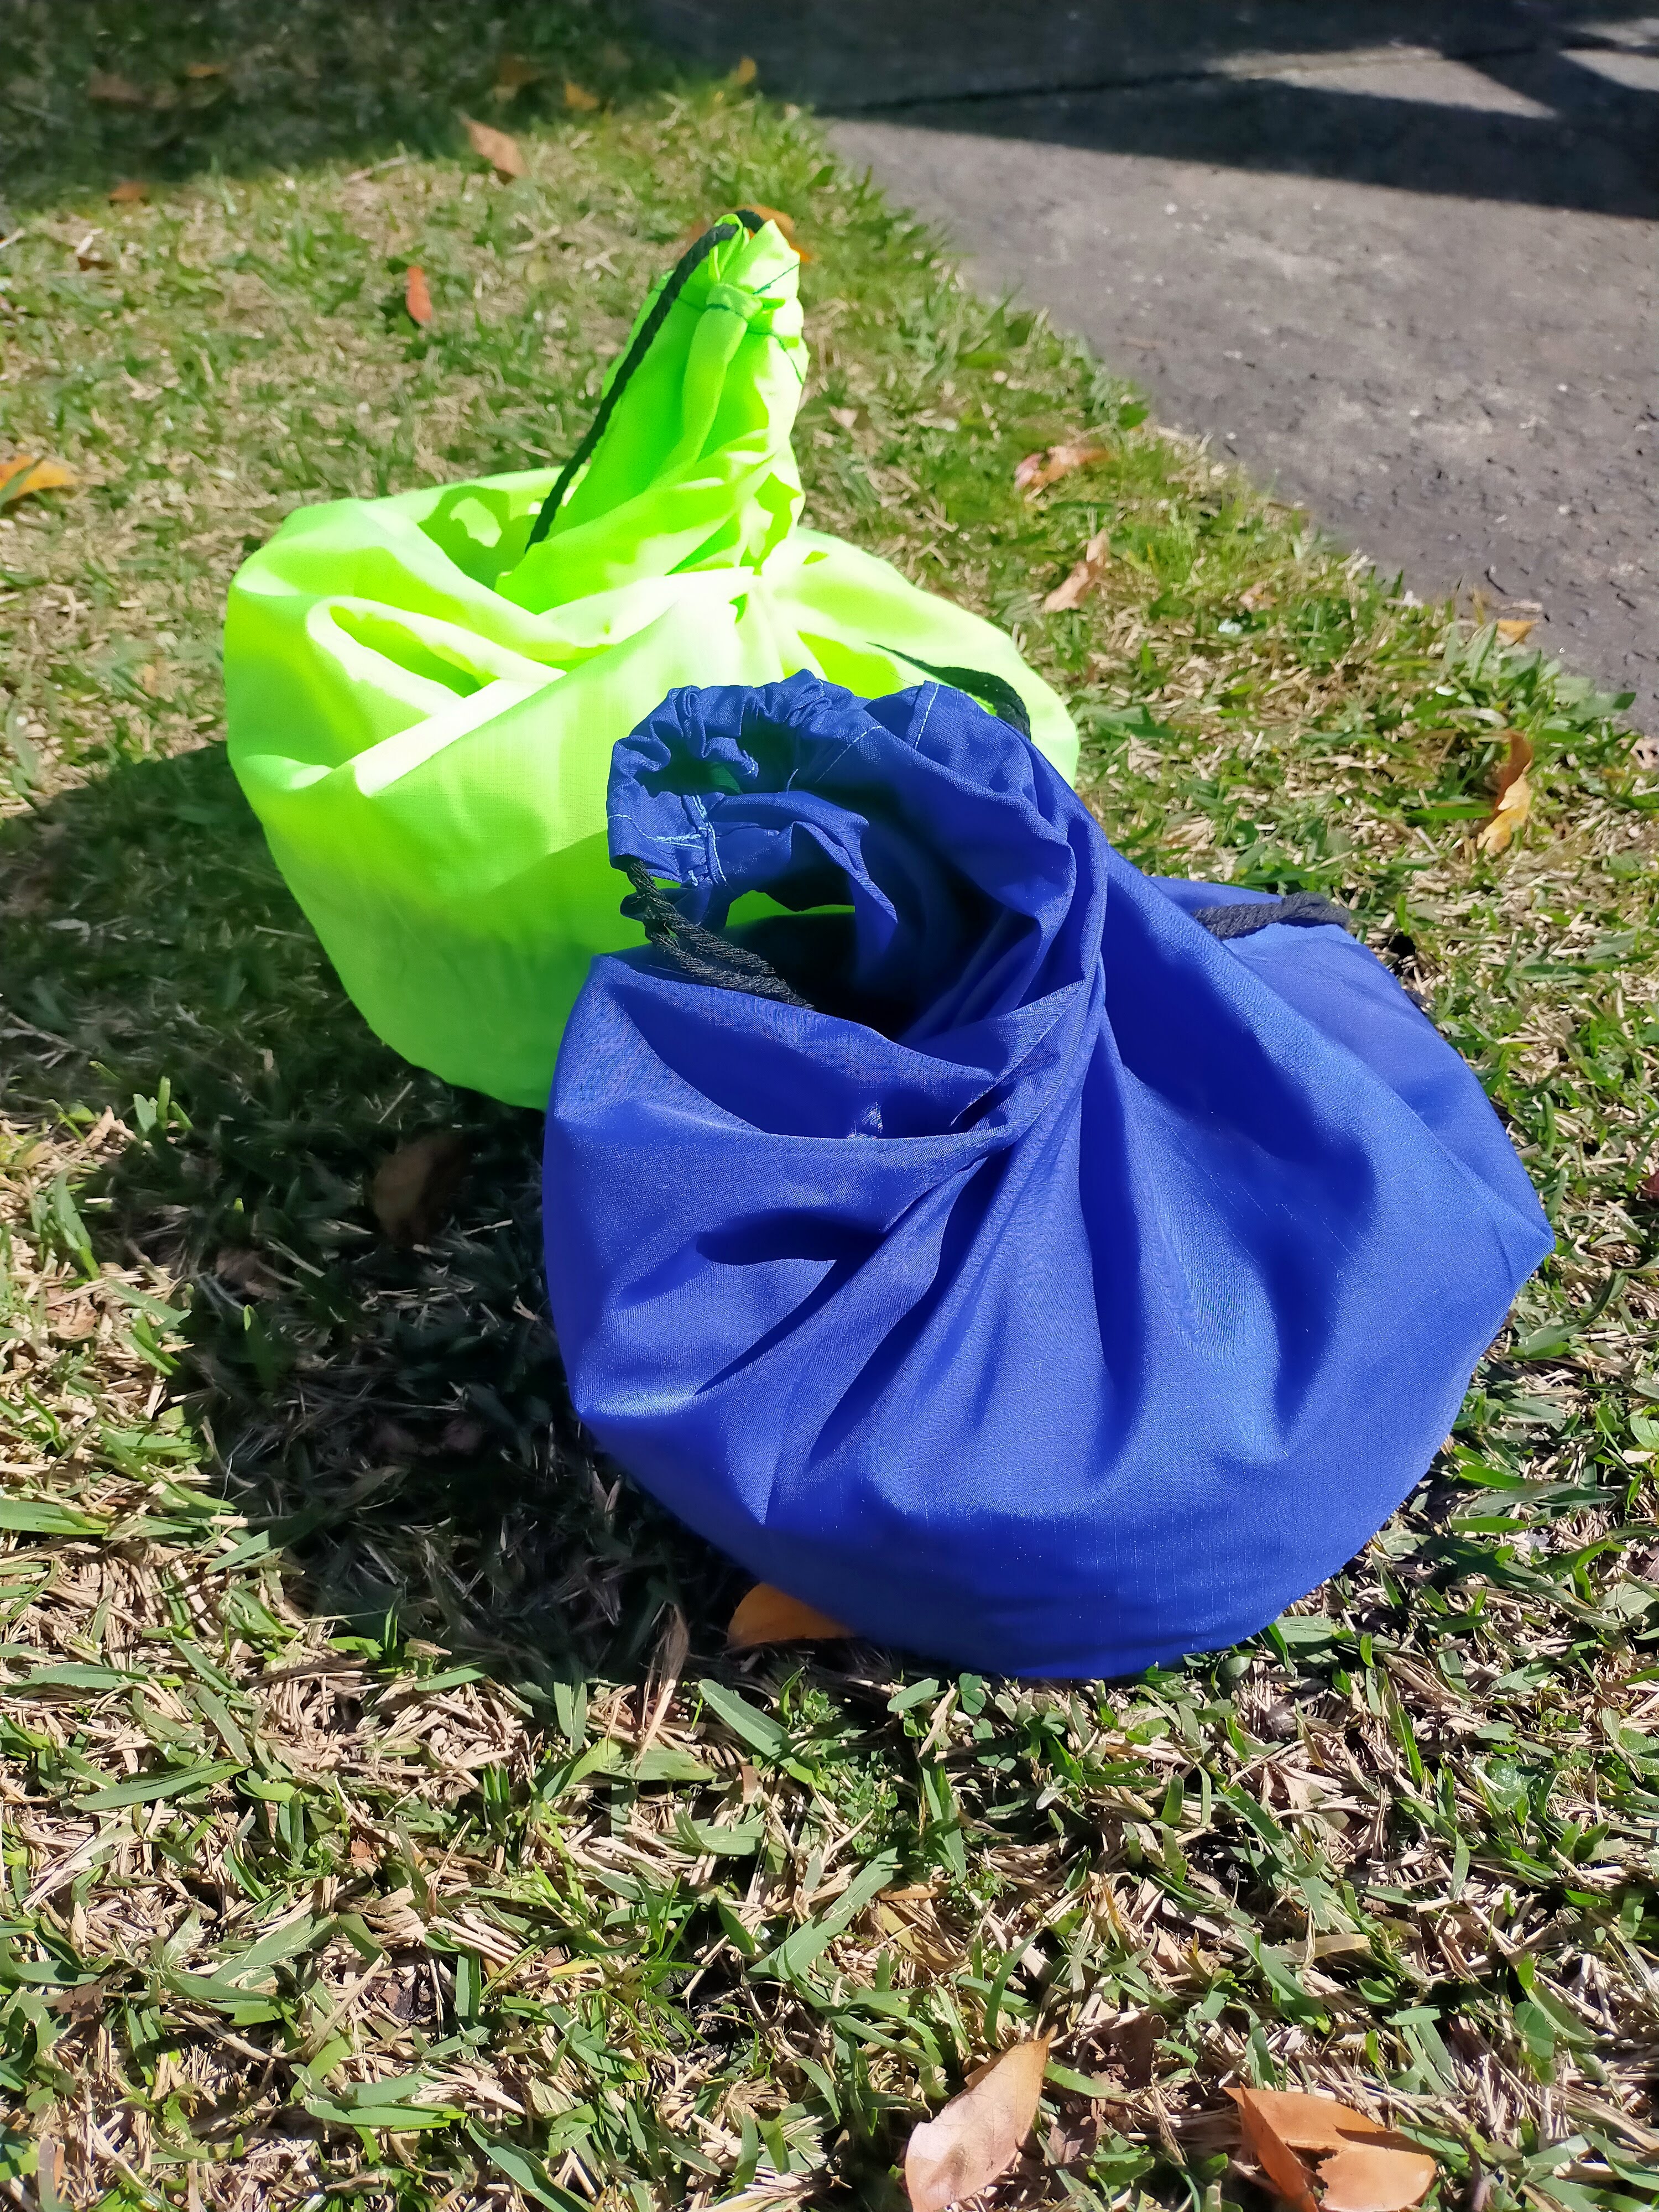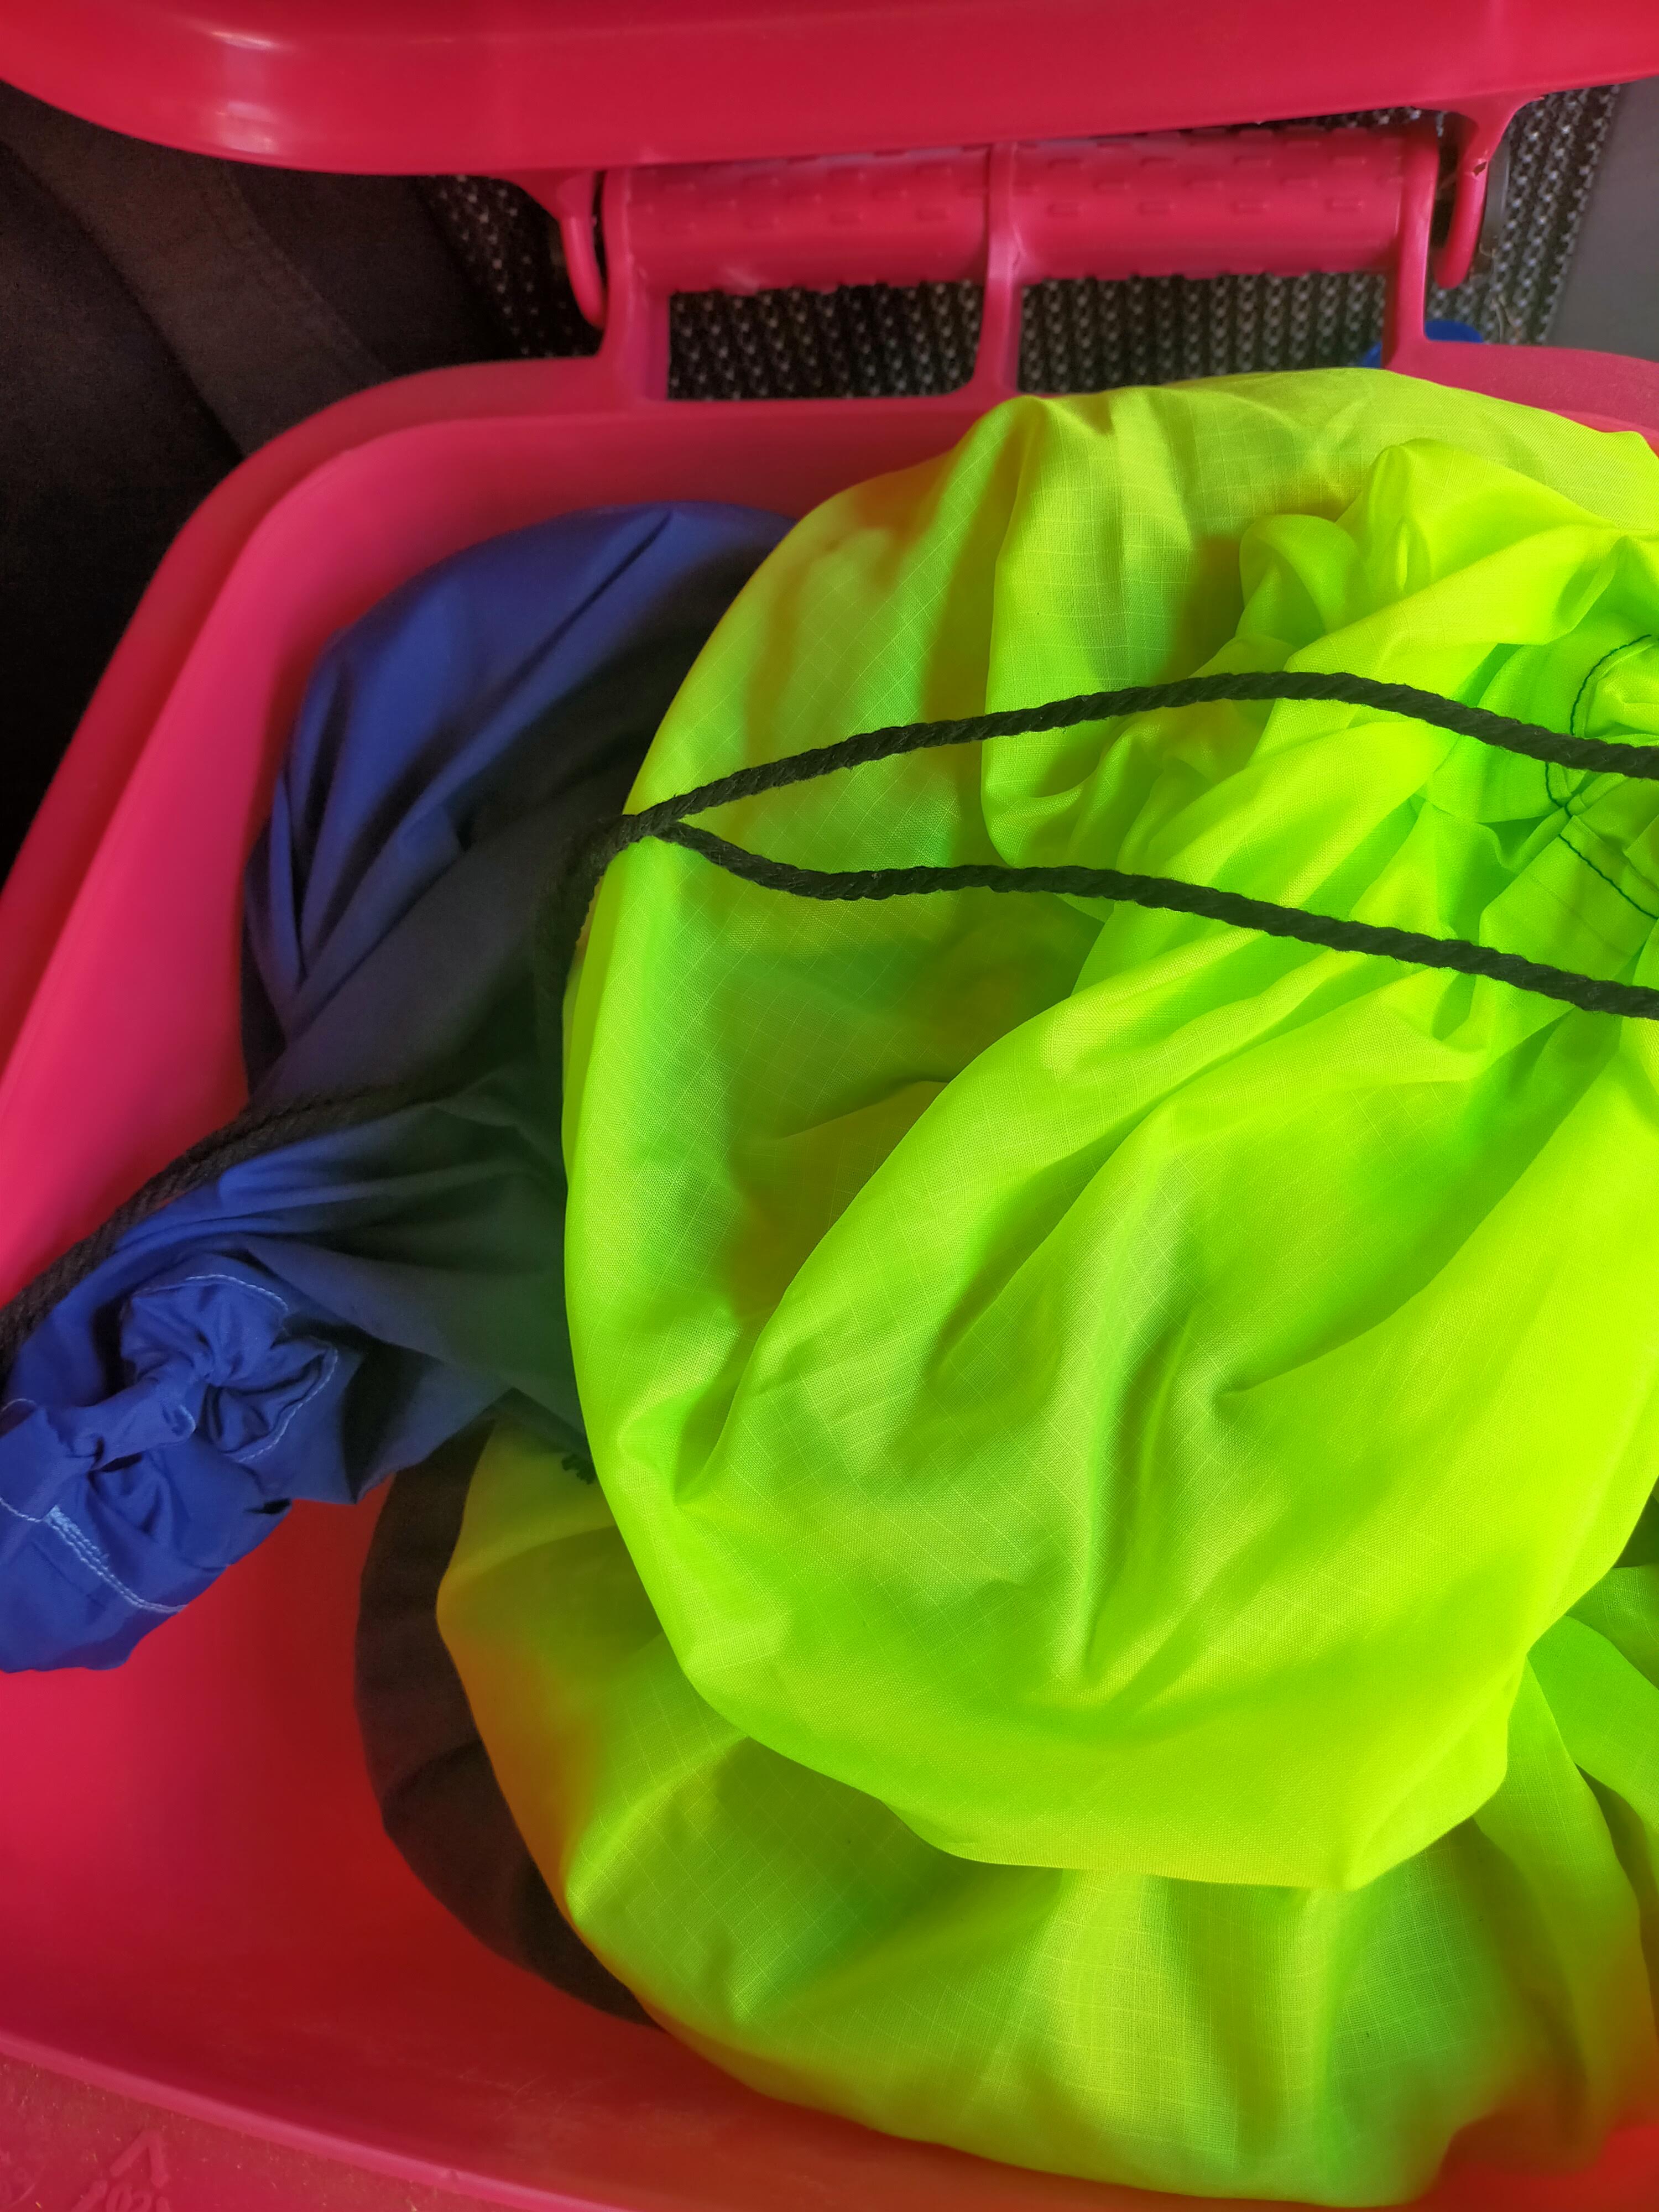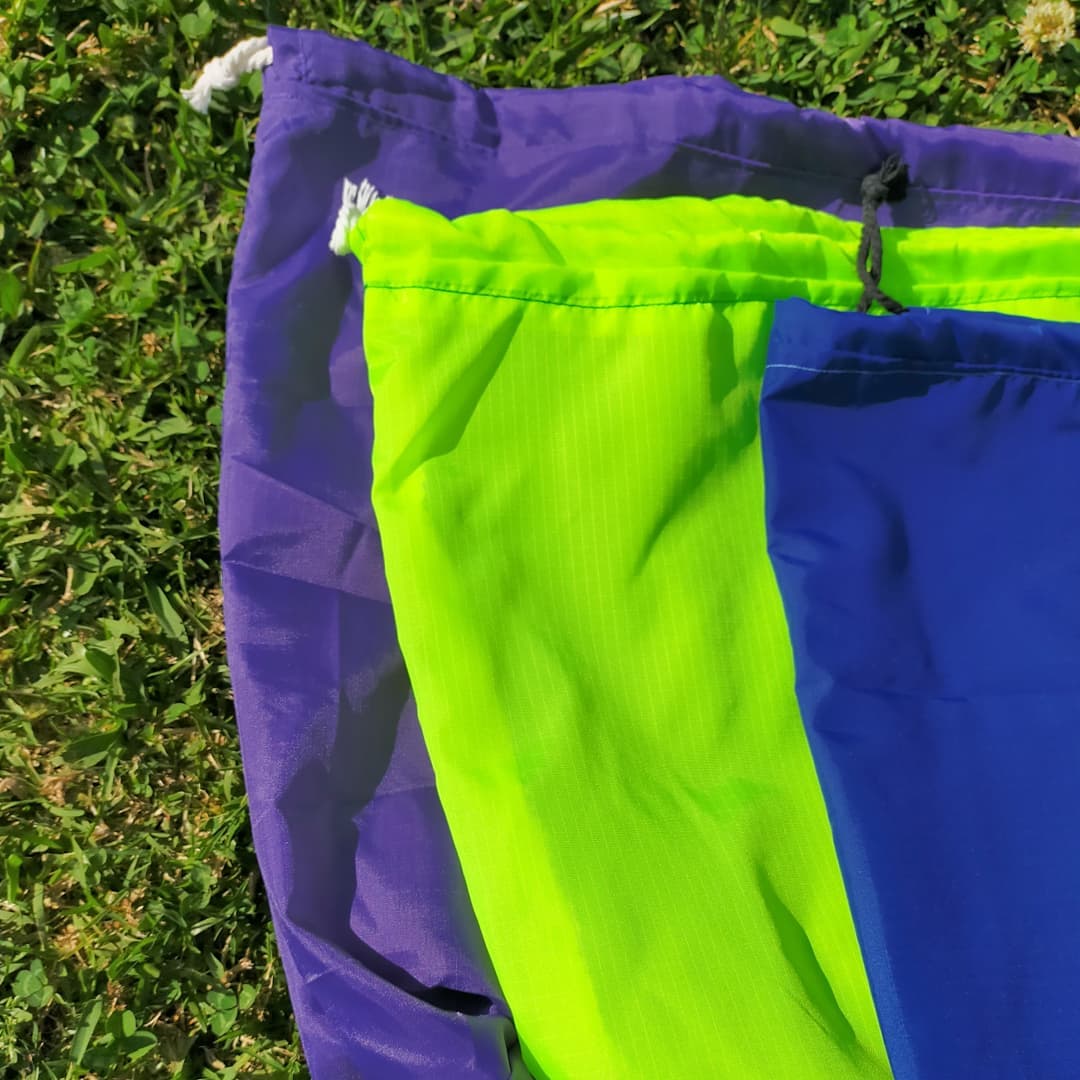
Feed Bags
So we are moving our pony to a new agistment property, and with that comes changes to routines. Our current agistment, for this particular pony, is full care with feed provided. Our other two are at a part care facility, where we supply the feed. With ‘the girls’ (the two at part care) we keep a few feeds made up in plastic tubs there ready for the days the property owners feed, and the rest at home to be made up on the days we go out.
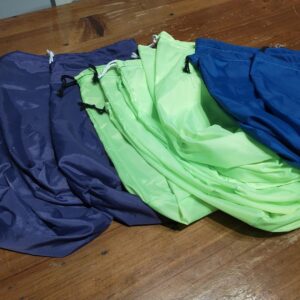
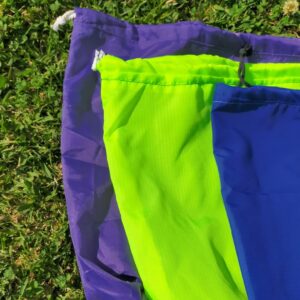
However that wasn’t going to work for the new place, we needed to keep at least 7 feeds at the property made up at any one time, and there wasn’t space for that many containers. So I decided to make some feed bags. I had seen something similar before and thought they were a great space saver. A simple round base, drawstring top, lightweight bag. I had some ripstop fabric here that I had used for another project so I thought I would start with that. *I will point out here, I started with the lovely royal blue colour, and when I knew I would need more I let my daughter decide on what colour to purchase.
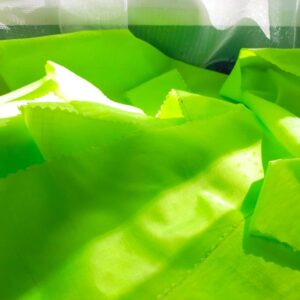
This certainly did not look as green on the website! We are still in lockdown so had to do online shop at spotlight. It was not until I opened the package at home that I realised the issue I was going to have.
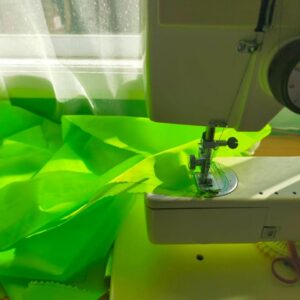
My sewing machine is located in front of a lovely sunny window overlooking the back yard. On a normal day, sewing normal things this is awesome. On this occasion this made sewing super tricky. The sun reflecting on this fluro green fabric caused me to have green blotches in my eyes. I decided I had to give up the natural light and draw the blinds. They do look awesome done though, so it was worth the sacrifice.
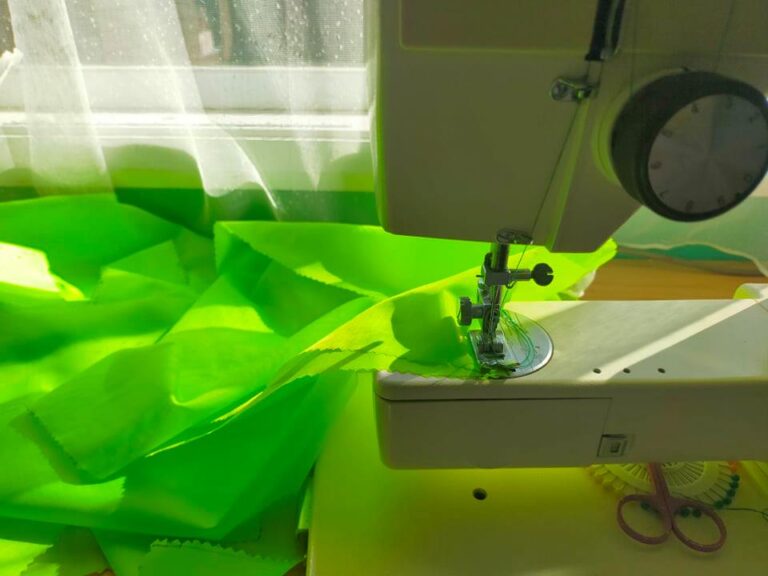
I wasn’t sure where to start with the pattern, I had never before sewn a round-based bag. I did some searching and came across a pattern for a ‘Bucket Bag’ over on Makeit-Loveit that looked similar to what I was after. So I started with that.
I didn’t need it to be lined and didn’t need the carry strap. So I just cut one of the outer, base and top channel. I knew I was going to be cutting at least 14 of these, so I made a template on corflute. That way I could lay it flat on the fabric trace around, and use pinking shears to cut. I did try using a rotary cutter, but this fabric frays A LOT! So pinking shears was the only way. Didn’t worry about the straps or the little loop at the base. I was incredibly happy with the way they turned out, as was Miss 15. The property owners are equally excited, and say they are perfect!

